Starting out

Your voice, into a file.

Nobody explains the middle bit. Here is every step between your mouth and the file a client downloads, what each piece is for, and what it honestly costs.

  • A working setup from $380
  • No jargon left unexplained
Signal chainLive
Latency about a secondBag one, smallCommute none
The whole flow

Seven stops, and only three cost money.

Tap any stop. This is the part of the job people teach badly, so it is worth ten minutes now rather than a year of wondering why your recordings sound like somebody else's.

You

What it does

The room is the first piece of equipment, and you already own it. Every hard surface sends your voice back at the microphone a fraction of a second late, and that arriving twice is what a client hears as boxy, roomy or cheap.

What goes wrong

A bare room with a desk, a window and a wooden floor. It will colour everything the microphone hears and no later purchase undoes it.

What it costs

Nothing, if you hang what you already have. Seventy-five dollars if you buy moving blankets.

Three complete kits

Buy the whole row, not one box.

A microphone on its own records nothing. These are complete, so whichever one you pick you can record on the day it arrives.

Enough to start

The $380 kit

For the first six months, while you find out whether you like this.

About$377

The microphone plugs straight into the laptop. No interface, no phantom power, nothing else to understand on day one.

Our pick

The $780 kit

For somebody who intends to audition every week and get booked.

About$777

The interface is the difference. Better preamp, headphones you can hear yourself in without delay, and a microphone that can grow into anything later.

Buy once

The $1,475 kit

For somebody who has done the research and would rather not do this twice.

About$1,475

A dynamic microphone and real panels, so an ordinary room stops being the thing holding you back. This is a setup people keep for a decade.

Piece by piece

What each one is, and why.

Everything in the kits above, with the reasoning. Pick a different microphone if you like, but keep the shape of the chain. The soft things are not on this list on purpose: with moving blankets the brand is irrelevant, so buy the cheapest heavy quilted ones you can find, hang them behind you and either side of the microphone, and spend the difference on the microphone.

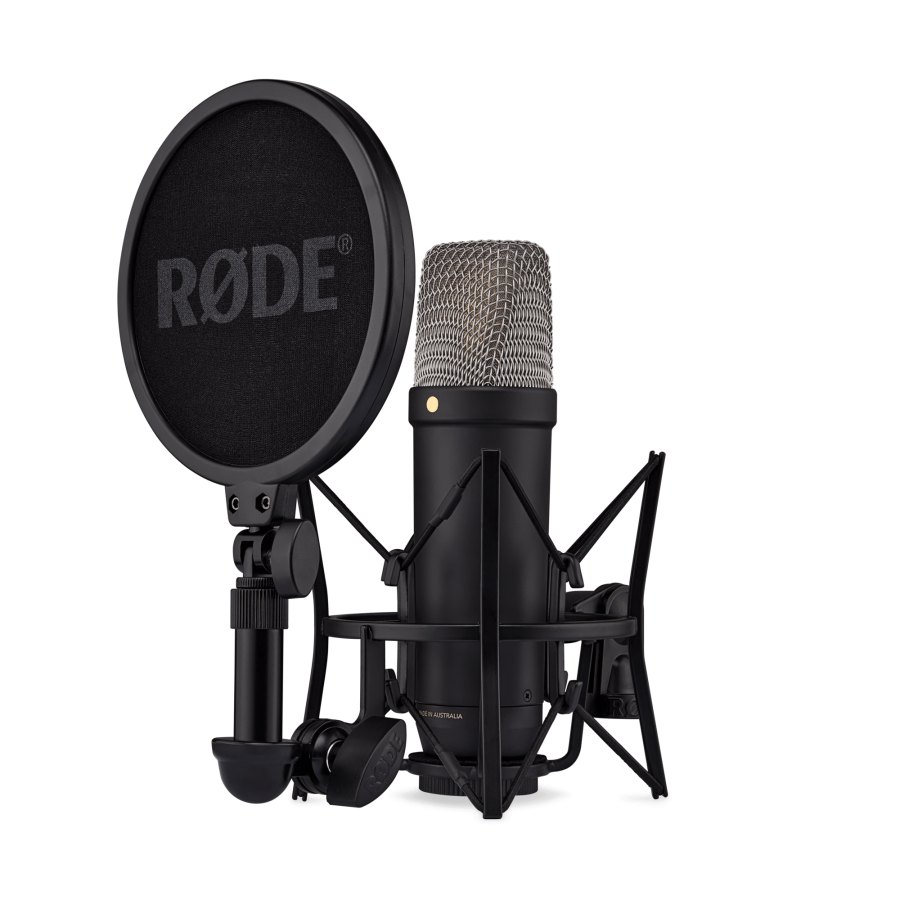
Rode NT1 5th Generation Our pick
The first serious microphone

Rode NT1 5th Generation

The mic a generation of voice actors started on, and plenty never left. It is famously quiet, so the only noise you hear is your room, and this one has an XLR socket and a USB socket on the same body. Start on USB, add an interface later, keep the microphone.

Also needs Nothing at first. Later, an interface with phantom power.

around $249 See it on Amazon
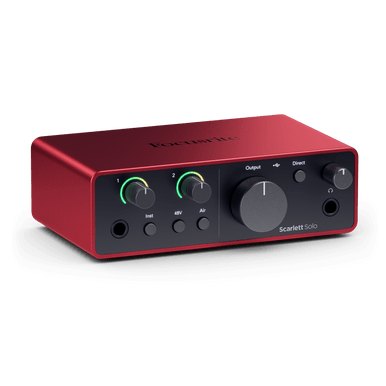
Focusrite Scarlett Solo 4th Gen Our pick
The first box under the microphone

Focusrite Scarlett Solo 4th Gen

One microphone input, one headphone socket, one knob that matters. It turns the microphone into something your computer understands, and it is the reason a hundred thousand first home studios sounded fine on day one.

Also needs One XLR cable and a free USB-C port.

around $139 See it on Amazon
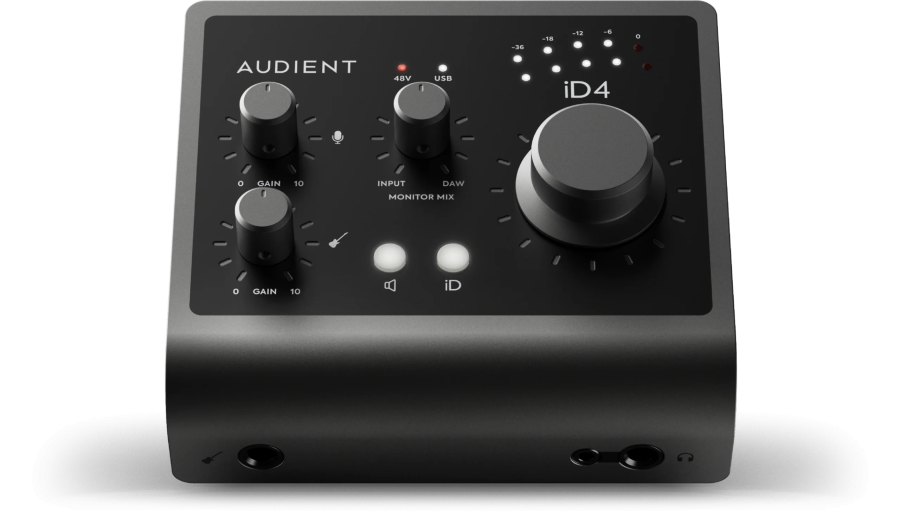
Audient iD4 MkII Our pick
The preamp is the point

Audient iD4 MkII

The console preamp design Audient puts in studio desks, in a box the size of a sandwich. Quieter than it has any right to be at the price, which matters more on a voice than on anything else you will ever record.

Also needs An XLR cable. The headphone output is good enough to monitor on.

around $199 See it on Amazon
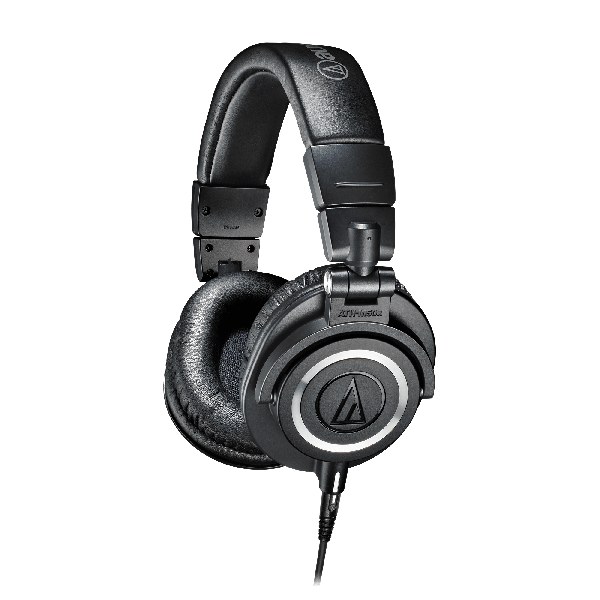
Audio-Technica ATH-M50x Our pick
In every edit suite on earth

Audio-Technica ATH-M50x

Closed, honest and slightly unkind, which is exactly what you want when you are hunting a mouth click at eleven at night. They fold flat for a bag, the cable detaches so a broken one costs ten dollars rather than a new pair, and they have been the default studio headphone for a decade.

Also needs Nothing. New earpads every couple of years.

around $159 See it on Amazon
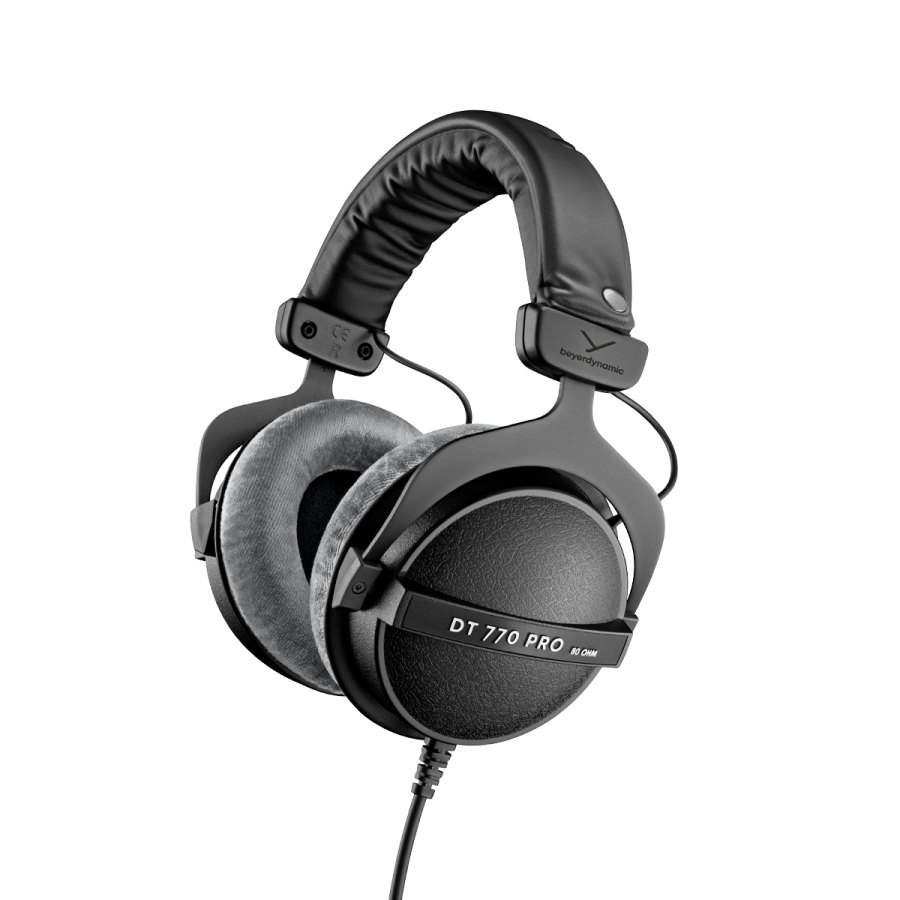
Beyerdynamic DT 770 PRO Our pick
The long-session pair

Beyerdynamic DT 770 PRO

The pair most voice actors end up on, because you can wear them for four hours without wanting them off your head. Get the 80 ohm version for a home interface.

Also needs An interface that can drive them. Most can.

around $179 See it on Amazon
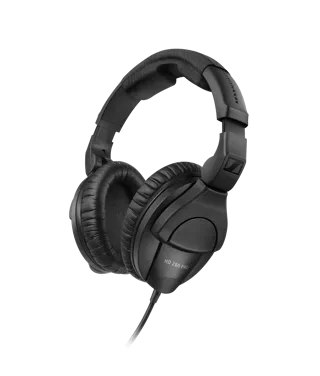
Sennheiser HD 280 PRO
The quiet seal

Sennheiser HD 280 PRO

They isolate better than almost anything at the price, which matters when you are monitoring yourself at the same time as the microphone is listening. Every part of them is a spare you can order.

Also needs Nothing.

around $99 See it on Amazon
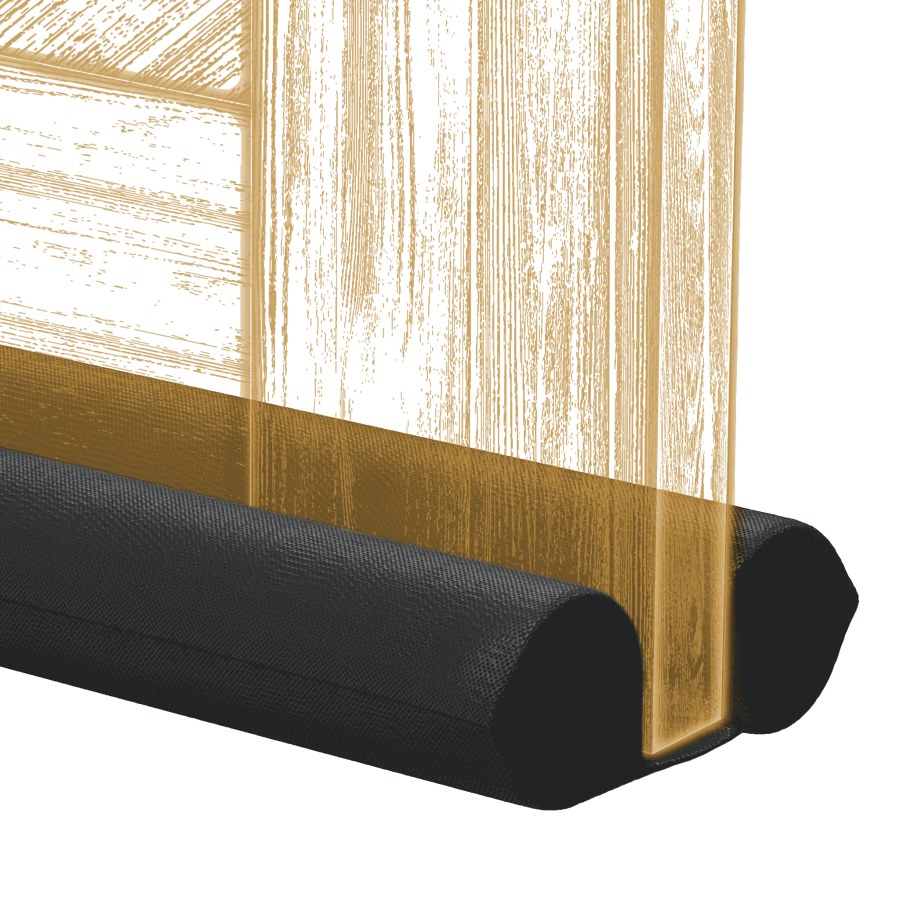
Under-door draught stopper
Sound leaks like water

Under-door draught stopper

Noise gets in under the door long before it gets in through the wall. Sealing a door is thirty dollars and one evening, and it is the only thing on this page that reduces the noise arriving rather than the echo leaving.

Also needs A door.

around $20 See it on Amazon
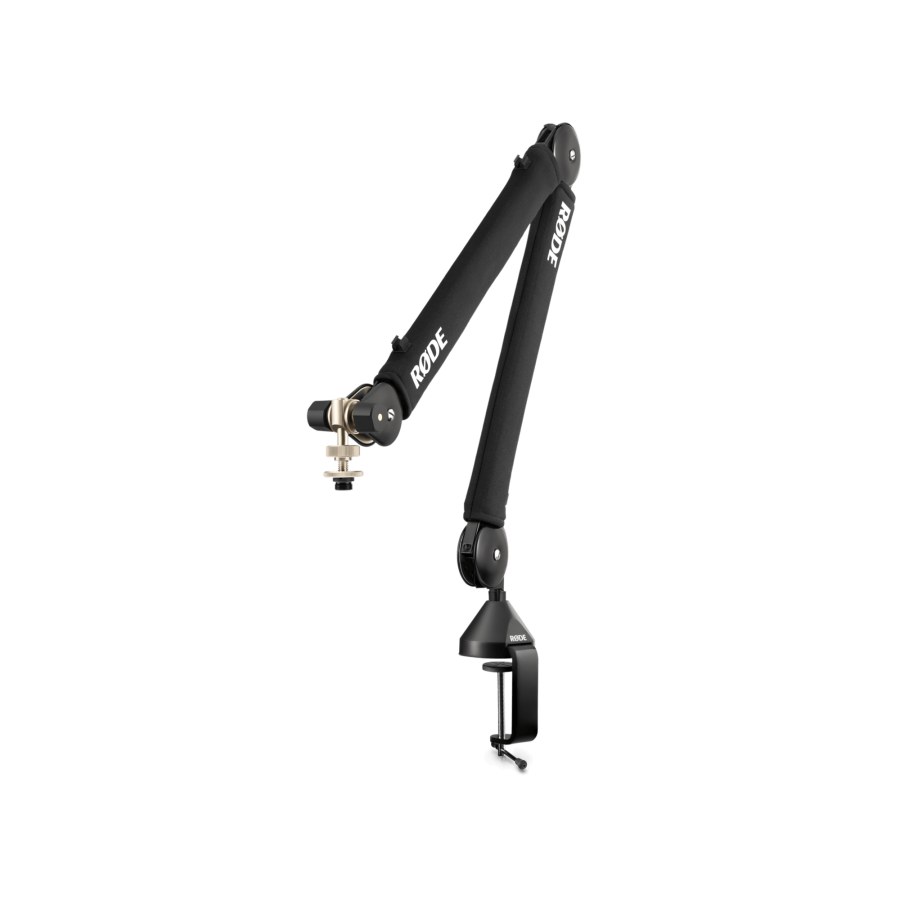
Rode PSA1+ boom arm Our pick
Off the desk, out of the way

Rode PSA1+ boom arm

A desk-mounted arm keeps the microphone away from the surface your keyboard and elbows are banging on, and lets you move it rather than moving yourself. The springs are internal, so it does not creak into the take.

Also needs A desk edge it can clamp to, up to 55mm thick.

around $149 See it on Amazon
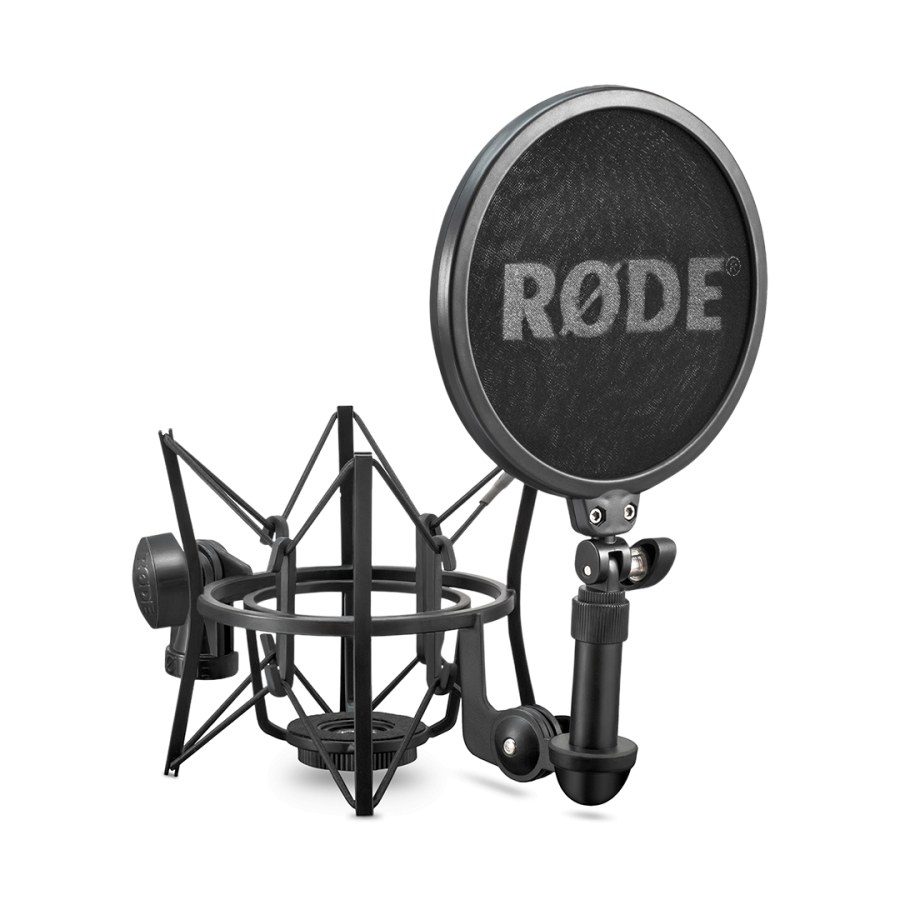
Rode SM6 shock mount and pop shield
Buy the one that fits your mic

Rode SM6 shock mount and pop shield

A mount stops footsteps and desk knocks climbing the stand into the capsule, and this one brings its own pop shield. Check it fits your microphone before you buy: a mount that does not grip properly is worse than no mount at all.

Also needs A body between 40mm and 55mm across, which covers most studio condensers.

around $69 See it on Amazon
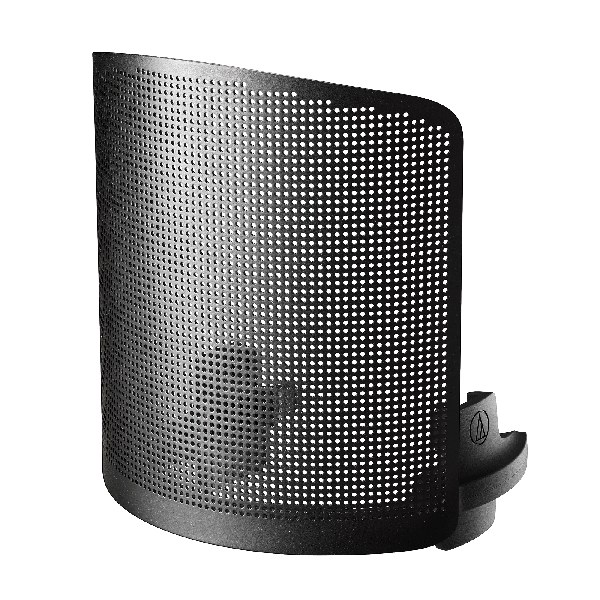
Audio-Technica AT8175 pop filter Our pick
Between your mouth and the capsule

Audio-Technica AT8175 pop filter

Plosives are the most common reason a first audition gets rejected, and a filter fixes them in a way no amount of editing afterwards can. This one is a proper studio screen on a long gooseneck, so you can set the gap once and forget it, and it costs less than the takes you will otherwise throw away.

Also needs A stand or arm with somewhere to clamp it.

around $29 See it on Amazon
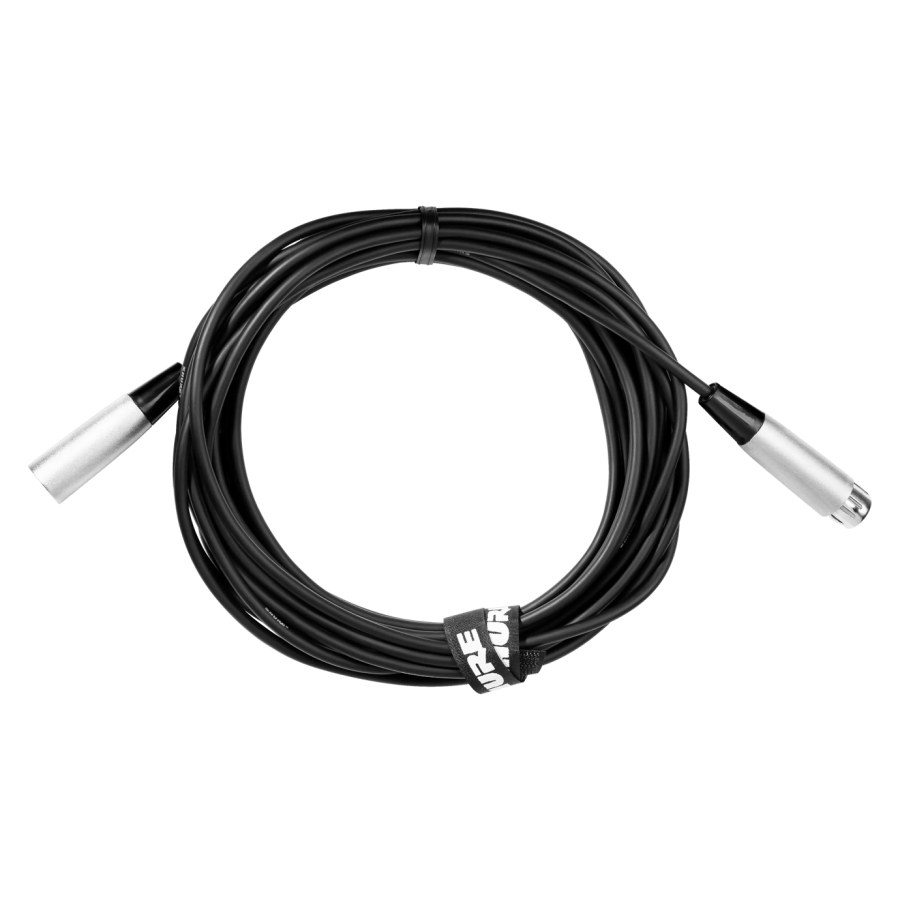
Shure C25J microphone cable
Buy two the first time

Shure C25J microphone cable

Cable is the cheapest part of the chain and the part that fails first, usually five minutes before a session. Twenty-five feet of it, so the microphone can be where it should be rather than where the socket is, and the spare lives in the bag.

Also needs Nothing.

around $23 See it on Amazon
Save your money

Five things not to buy first.

Every one of these is sold hard to beginners, and every one of them is the wrong first purchase. We would rather tell you than sell you.

Thin foam tiles

The wedge shaped foam sold as studio foam absorbs the top end and barely touches the low mids, which is the frequency range that makes a voice sound boxy. Two inches of mineral wool costs about the same and actually works.

A bundle with everything in the box

The all in one starter bundles put a weak microphone, a plastic arm and a nylon filter in one carton at a tempting price. You replace all three within a year and the microphone has no resale value.

Plugins and processing

Nothing you add later fixes a room, and clients want to hear the voice, not the treatment. Learn to record it clean and you will sell more of it.

A booth, before treatment

A built booth is thousands of dollars and solves noise getting in. Most beginners have an echo problem, not a noise problem, and forty dollars of blankets solves that this afternoon.

A second microphone

Two mediocre microphones is one wasted purchase. Until somebody is paying you to sound different on purpose, one good one is the whole answer.

The day it arrives

Your first hour, in order.

  1. Find the quietest corner

    Not the middle of the room, and not facing a bare wall. A corner with soft things in it, away from the road and the fridge.

  2. Face into the soft side

    Stand so the microphone points at the blankets or the wardrobe and your voice goes into them, not into glass.

  3. Plug in, turn the gain down

    Start low and come up. Speak at the volume you will actually perform at, not the polite volume people use while setting up.

  4. Set the level with the loudest line

    Read the most energetic line in the script. If that never touches the top of the meter, the rest is safe.

  5. Record thirty seconds and listen on headphones

    Listen for the room, the road and the p sounds. Fix those three and the recording is broadcast clean.

  6. Save the setup

    Mark where the stand goes and write down the gain. Clients come back wanting a matching pickup line, and matching is much easier than remembering.

While you are shopping

Try Prime free while you upgrade.

A first kit is four or five parcels, and half of them are small things you would rather not wait a week for. Amazon's trial costs nothing, the delivery is quicker while the parcels are landing, and you can cancel before it renews if you would rather not keep it.

Start the free trial
Questions

Asked by everybody, once.

What is the cheapest setup that can get paid work?
A studio microphone, an interface or a USB connection, closed headphones, a pop filter and something soft on the walls. That lands just under four hundred dollars, and recordings made on it are broadcast every day.
USB or XLR for a first microphone?
Either, as long as the microphone is a studio one. USB is one cable and no extra box. XLR needs an interface but opens up every microphone made. Several microphones now have both sockets, which settles the argument.
Do I need phantom power?
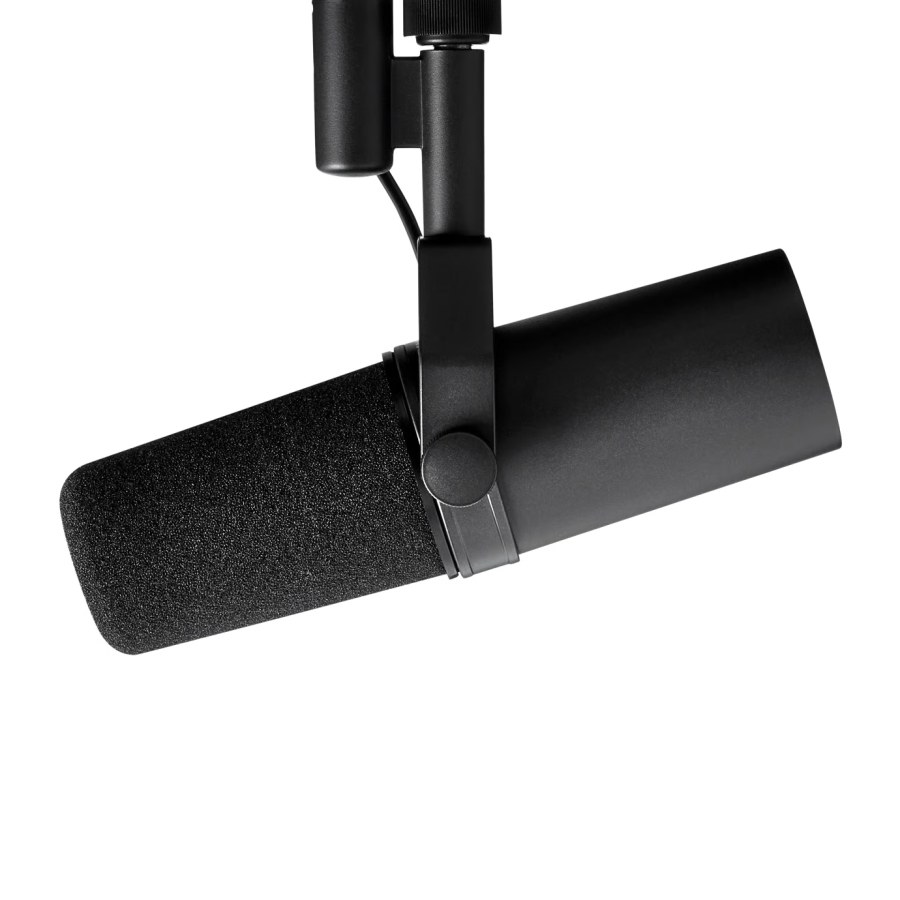
Only for a condenser microphone. It is a 48 volt switch on the interface that sends power up the microphone cable. Dynamic microphones like the SM7B do not use it and are not harmed by it.
What sample rate and bit depth should I record at?
Record at 48 kHz and 24 bit unless the client asks for something else. It is the standard for video, it gives you room to fix a quiet take, and nobody has ever complained about receiving it.
Which software should I start with?
Audacity is free and enough to record, trim and export. Reaper is about sixty dollars and will still be enough in ten years. Neither choice will hold your career back.
How do I know my recording is good enough?
Play it on your phone speaker and in earbuds. If you can hear the room, the road or the fridge, fix that before you buy anything. If it sounds like the voice and nothing else, you are ready to audition.
Free guide

Breaking into voice overs, the PDF.

Home studio, finding work online, standing out. The kick-start we send new voices. One email, no follow-up sequence.

Prices are US street prices, checked by hand on 23 September 2026, and they move. Treat them as a guide to what a thing costs rather than a quote, and check Amazon for today's figure.

Every product here is checked against Amazon each night. If something is discontinued or out of stock the card says so instead of sending you to a dead page.

Product photographs are the manufacturers' own, used to show you the thing they are photographs of. Where a card shows a drawn panel instead, that maker publishes no photograph we are able to use.

As an Amazon Associate, The Voice Realm earns from qualifying purchases.

Set up? Start auditioning.

Clients here brief a job, hear the voices that fit and book one. A clean recording and a demo is all it takes to be in the running.