Blog
Blog
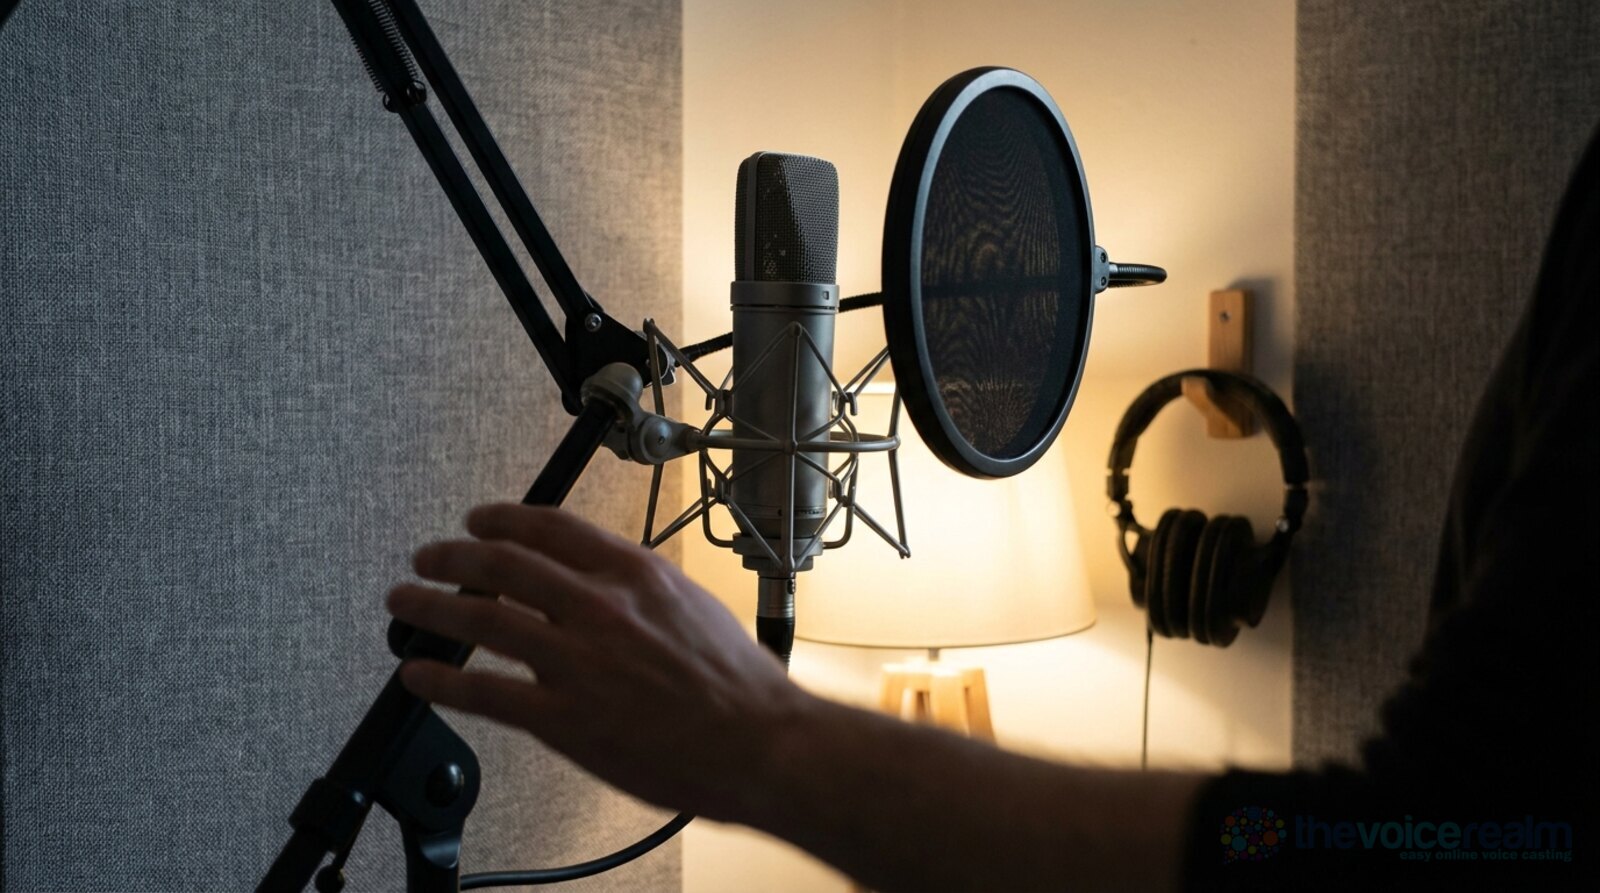
You can buy a lovely microphone and still sound boomy, roomy or poppy on it. Most of the difference between an amateur recording and a clean, broadcast-ready one isn’t the mic at all. It’s where your mouth is in relation to it. This guide is for voice actors recording at home who want a repeatable way to sit at the mic and get the same good sound every time.
We’ll cover how far away to be, why distance changes both the room sound and your bass, which way to point the mic, what the pop filter is really for, and a ten-minute test you can run tonight to find your own sweet spot.
Before the theory, have a listen. It’s the same read five times over, and only the set-up changes.
Start between six and twelve inches
The manufacturers who build studio microphones agree on a starting range. Shure’s educational guide to recording has a short section on spoken word, and its first tip is to keep the mic six to twelve inches from your mouth. It explains the balance you’re trying to strike: “Generally, keep the microphone as close as possible to your mouth to avoid picking up unwanted room reflections and reverberation. Do not get too close either.”
Neumann’s Home Studio Academy lands in the same place for vocals: “You want to shoot at 8 to 12 inches, which is about 20 to 30 centimeters.”
A handy way to find it without a ruler: spread your hand, thumb to little finger. For most adults that’s somewhere around seven to nine inches. Put your thumb on your chin and your little finger toward the mic, and you’re in the zone. It’s a starting point, not a law. The rest of this piece is about why you’d move closer or further from there.

Why the room gets louder when you back away
Every home studio has some room sound in it: the reflections off walls, desk and ceiling that make a voice sound like it’s in a box. Distance from the mic decides how much of that ends up in your file, and the reason is simple physics.
Your voice arriving directly at the mic obeys what’s called the inverse-square law. Shure’s guide puts it this way: “When the distance from a sound source doubles, the sound level decreases by 6dB.” Halve the distance and you gain 6 dB. The room sound doesn’t behave like that. Shure again: “the ambient sound in a room is at nearly the same level throughout the room.”
 VOICEMASTERACADEMYFirst read to first booking.Twenty modules. The first one is free.Start free
Put those two together and you get the key to the whole thing. Every time you move closer, your voice gets louder at the mic while the room stays about the same. You turn the gain down to match, and the room goes down with it. Back away and the opposite happens: you turn the gain up to find your voice, and the room comes up too. That’s why a voice recorded from across a desk sounds hollow even in a treated space.
If your recordings sound roomy, moving closer is the cheapest fix there is. If they still sound roomy at eight inches, the room itself needs work, and our guide on treating the space behind you starts with the wall that matters most. It’s worth measuring before and after with the free Home Studio Analysis from Voice Edit Suite, so you know whether a change actually helped.
Proximity effect: free bass, with a bill attached
So why not just eat the mic? Because most studio mics used for voice over are directional, and directional mics add bass as you get closer. It’s called proximity effect.
Shure’s spoken word tips describe it as “an increase in low frequency response that occurs as you get closer to a directional microphone,” and warn that it “can cause your voice to sound “muddy” or overly bassy.”
Used on purpose, proximity effect is a tool. Lean in a little for an intimate, late-night read, a whispered line in a story, or a warm movie-trailer tone, and the extra low end makes the voice feel close and personal. Used by accident, it’s a problem: a voice that thickens and thins as you drift in and out, and words that sound like they’re coming from inside a pillow.
If you like working close but the bass builds up, Shure lists the options. You can “(1) roll off low frequencies at the mixer, (2) use a microphone designed to minimize proximity effect, (3) use a microphone with a bass roll-off switch, or (4) use an omnidirectional microphone (which does not exhibit proximity effect).” Most home setups use the first or third: a high-pass filter in your recording software or a switch on the mic. If you’re still choosing a mic, our microphone buying guide is a good place to compare types.
Aim across your mouth, not straight into it
Pointing the mic dead at your lips is the natural instinct, and it’s the one that gives you pops. Every “p” and “b” sends a little puff of air forward. Neumann’s academy describes what happens next: “Some speech consonants, like P’s and B’s, produce little air blasts. And when they hit the capsule, it sounds like an explosion.”
The fix is angle. Shure’s spoken word advice is to “Aim the microphone toward your mouth from below or above,” because “This placement minimizes “popping” caused by plosive consonants.” Elsewhere in the same guide it says “The axis of the microphone should usually be pointed somewhere between the nose and mouth to pick up the complete sound of the voice,” and adds that “a slightly off-axis placement may help to avoid explosive sounds from breath blasts.”
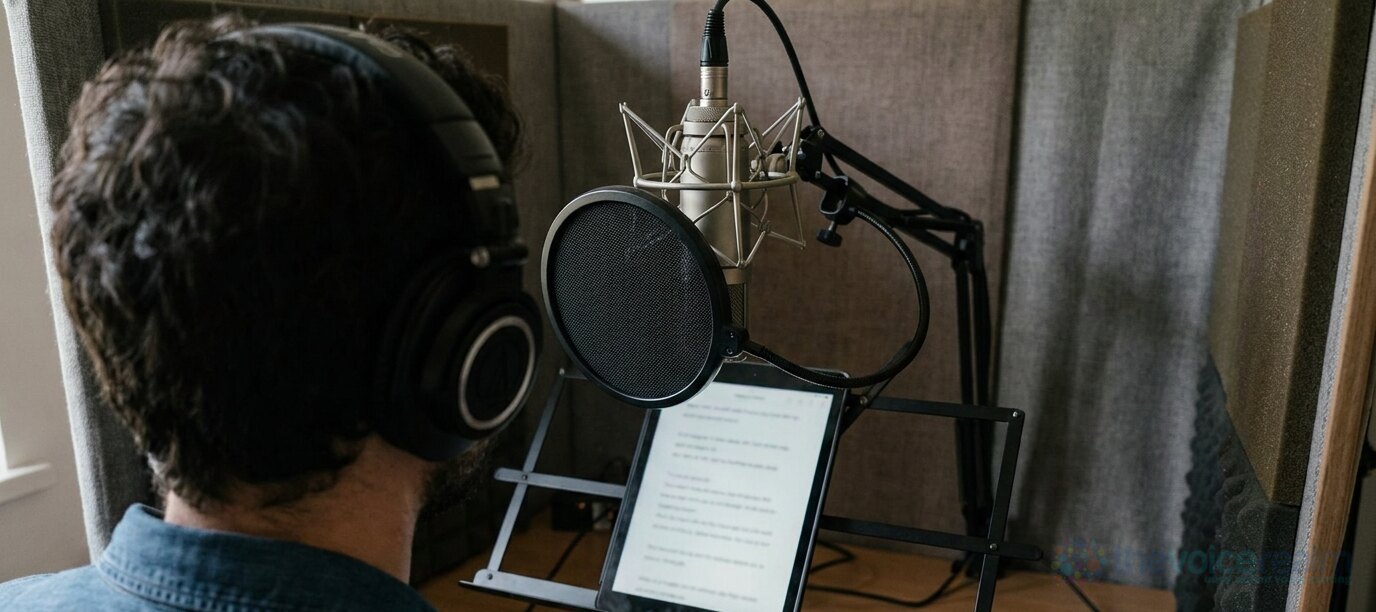
In practice, a lot of voice actors set the mic just above mouth height and tilt it down a touch, so their breath travels underneath the capsule while their voice still reaches it. Others set it just below the chin, angled up. Try both. What you’re after is a spot where your “p” words sound crisp but don’t thump.
© The Voice Realm
The pop filter is also a ruler
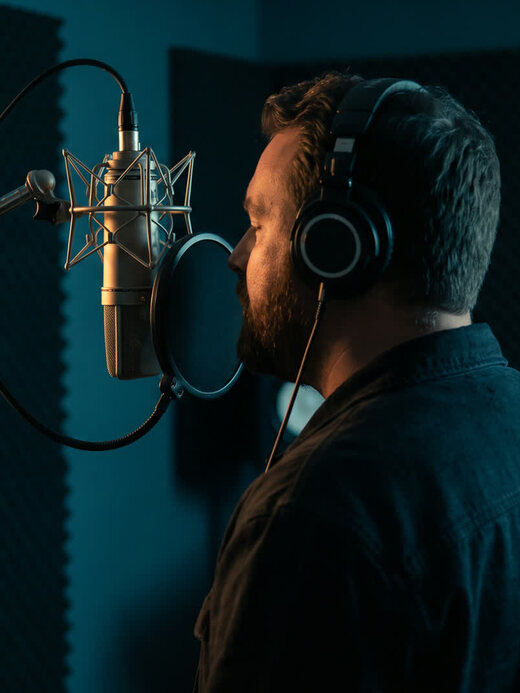
A pop filter catches those air blasts before they reach the capsule. But it has a second job that matters just as much for voice over, and Shure spells it out: “The pop filter can also serve as a reference to help you maintain a consistent distance from the microphone.”
That’s the real reason to use one. Set it where your lips should be, and every time you come back to the mic you’ll be at the same spot. Consistency is what clients hear across a long script. A narrator whose voice gets bassier on page three because they leaned in is a narrator whose files need fixing.
Neumann adds a small detail worth copying: “Angle the pop shield a bit so it is not parallel to the microphone capsule.” A slight tilt helps break up the air rather than bouncing it straight back.
Keep your head still and your script out of the way
Two things quietly change your sound in the middle of a take. The first is your head. Shure warns that “High frequencies are very directional, and if you turn your head away from the microphone, the sound captured by the microphone will get noticeably duller.” Look down at a script on the desk for one line and that line will sound darker than the rest.
The second is what’s around the mic. Neumann says “Even a simple sheet of paper can audibly change the sound of your voice,” and Shure notes that “even a music stand can cause reflections back to the mic.” Hard surfaces bounce sound back into the capsule a split second late, which colours the tone.
A few habits help with both:
- Put your script on a stand or tablet at eye level, a little below the mic, so you read without dipping your head.
- Tilt the stand or tablet back slightly so it doesn’t face the mic like a mirror. Some people drape a cloth over a metal stand.
- Keep the desk clear in front of the mic, or cover it with something soft.
- If you move for a line, move your whole body and come back to the same spot. Don’t turn just your head.
Leave headroom when you set your level
Mic technique ends at the input knob. Neumann’s advice for home studios is blunt: “A lot of people record too hot.” Their recommendation, for 24-bit recording: “So leave about 10 dB headroom above the loudest peaks.” You can always turn a clean recording up later. You can’t fix a clipped one.
Set your level with the loudest line in the script, not the first one. People tend to hold back on a sound check and then give more on the real take, something Neumann points out for singers too. If you’re setting up for a shouty character or an excited promo, do your level check at full energy.
Moving on the mic, on purpose
Once you know your home position, you can use distance as part of the performance. This is what experienced voice actors mean by working the mic.
- Soft, close, intimate lines: lean in an inch or two and let the proximity effect warm the sound. Drop your volume to match, or it’ll sound like you’re shouting in someone’s ear.
- Big, loud lines: back off or turn slightly away, so a yell doesn’t overload the mic. Your voice will still sound loud because of the effort in it, even if the level stays under control.
- Everything else: stay put. Most voice over, from explainers to e-learning to commercials, wants one steady sound from start to finish.
Every inch you drift by accident becomes a job in the edit, matching levels and tone from line to line. Good technique at the mic means far less time spent on cleaning up your takes afterwards.
A ten-minute test to find your spot
Every voice and every mic are a little different, so run this once and keep the results. You’ll need a paragraph with plenty of “p” and “b” words, and your headphones.
- Set your level at about eight inches, leaving headroom as above.
- Record the paragraph at four inches, eight inches and twelve inches, pointing straight at your mouth. Don’t change the gain between takes.
- Record it again at eight inches with the mic angled from above, then from below.
- Listen on headphones. Compare the bass, the pops and how much room you hear. Level-match the takes by ear before you judge, since the close one will be louder.
- Pick the position you like best and note it down: distance, angle, pop filter spot. A strip of tape on the mic arm or a mark on the floor helps you find it again tomorrow.
When you’ve got a sound you’re happy with, put it to work on real scripts. The latest voice over jobs are a steady source of copy to audition with, and a consistent sound is one of the first things a client notices.
The short version
Start at six to twelve inches. Get closer to hear less room, but watch for muddy bass. Aim the mic across your mouth, not into it, so your “p” words don’t thump. Use the pop filter as a marker so you’re in the same spot every time. Keep your head still, your script up and your desk clear, and leave headroom on your level. Then run the ten-minute test and write down what works. It costs nothing, and it’ll do more for your sound than most upgrades.
Sources: Shure, “Microphone Techniques for Recording” (educational guide, including the spoken word section); Neumann Home Studio Academy, “How to set up a session and make a headphone mix for the singer” (video transcript and guide). Neumann’s advice is written for singers; the placement, pop shield and level points apply equally to spoken voice.
Ready to get booked?
See the jobs open right nowAbout Sarah Robbins
Sarah Robbins writes for The Voice Realm about finding voice over work, home studios, casting and the business side of voice acting.