Blog
Blog
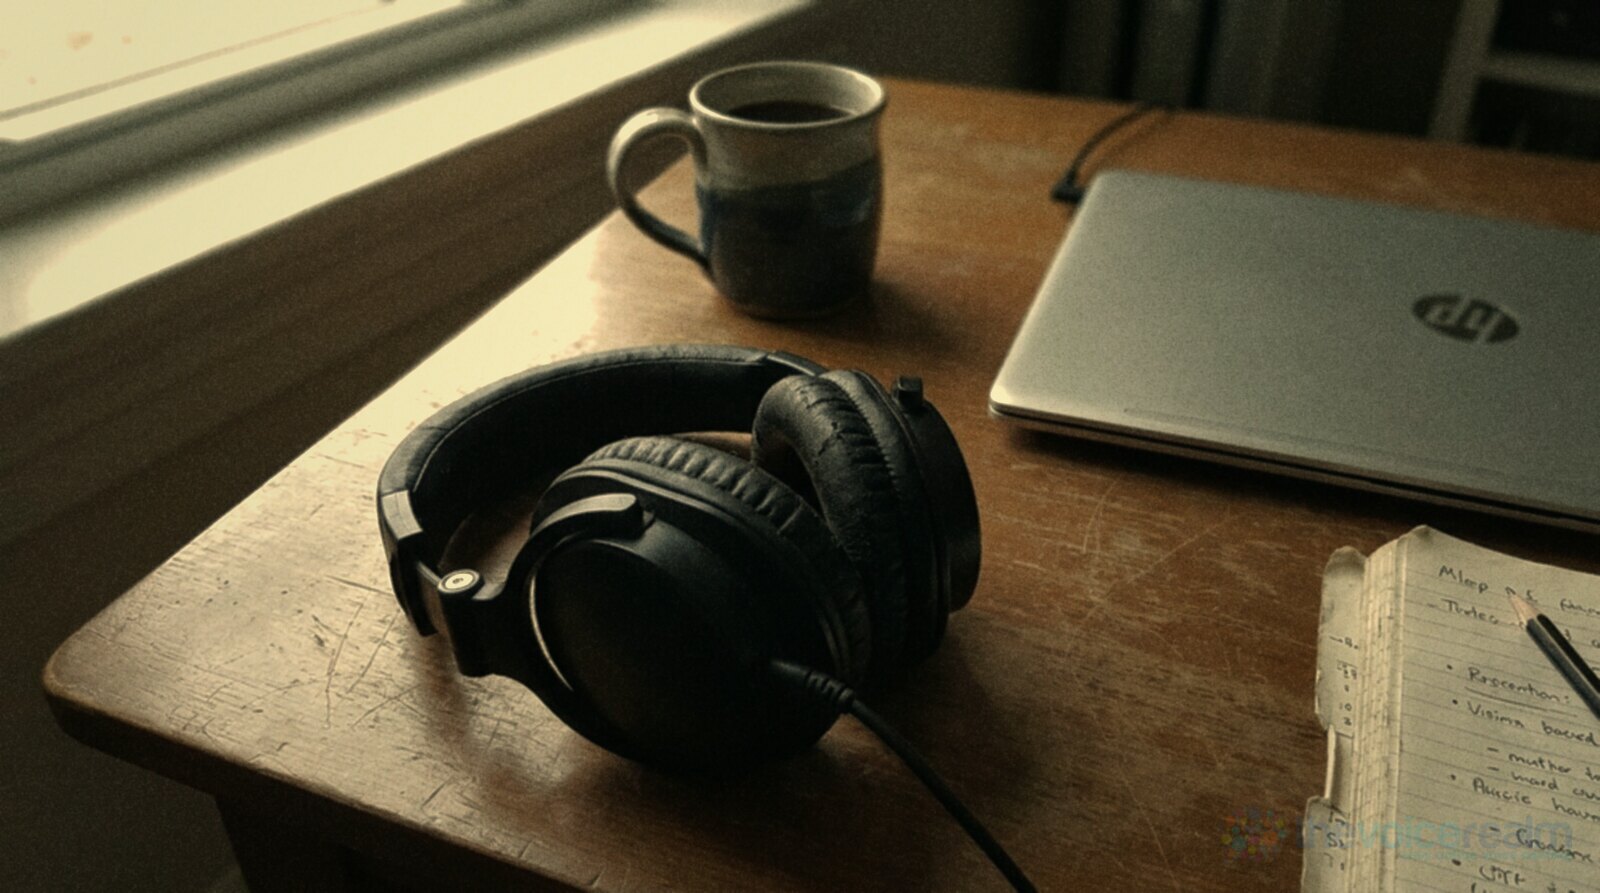
You can spend an hour choosing a microphone and thirty seconds choosing the headphones you plug into it, and the headphones are what you actually listen to all day. This guide is for voice actors recording at home or in a booth who want to know which kind of headphones to wear while they record, what to look for in a pair, and how to keep them from slowly wearing down their hearing.
Why the headphones matter more than they look
Your headphones are the only quality check you get while the take is happening. A mouth click, a breath that’s a touch too loud, a hum from the fridge next door: if you can’t hear it as you record, you’ll hear it later, in the edit, when the fix costs you an hour.
The people at Violet Recording, who write about home recording gear, put the job like this: “Good monitoring lets you hear whether you are too close to the mic, whether the room is ringing, and whether a take has clicks or breaths that need another pass.” That’s the whole point of wearing them. They’re a magnifying glass for your own recording.
So the question isn’t which pair sounds nicest. It’s which pair tells you the truth without leaking into your microphone, stays comfortable through a long session, and doesn’t hurt your ears.
© The Voice Realm
Closed-back to record, open-back to mix
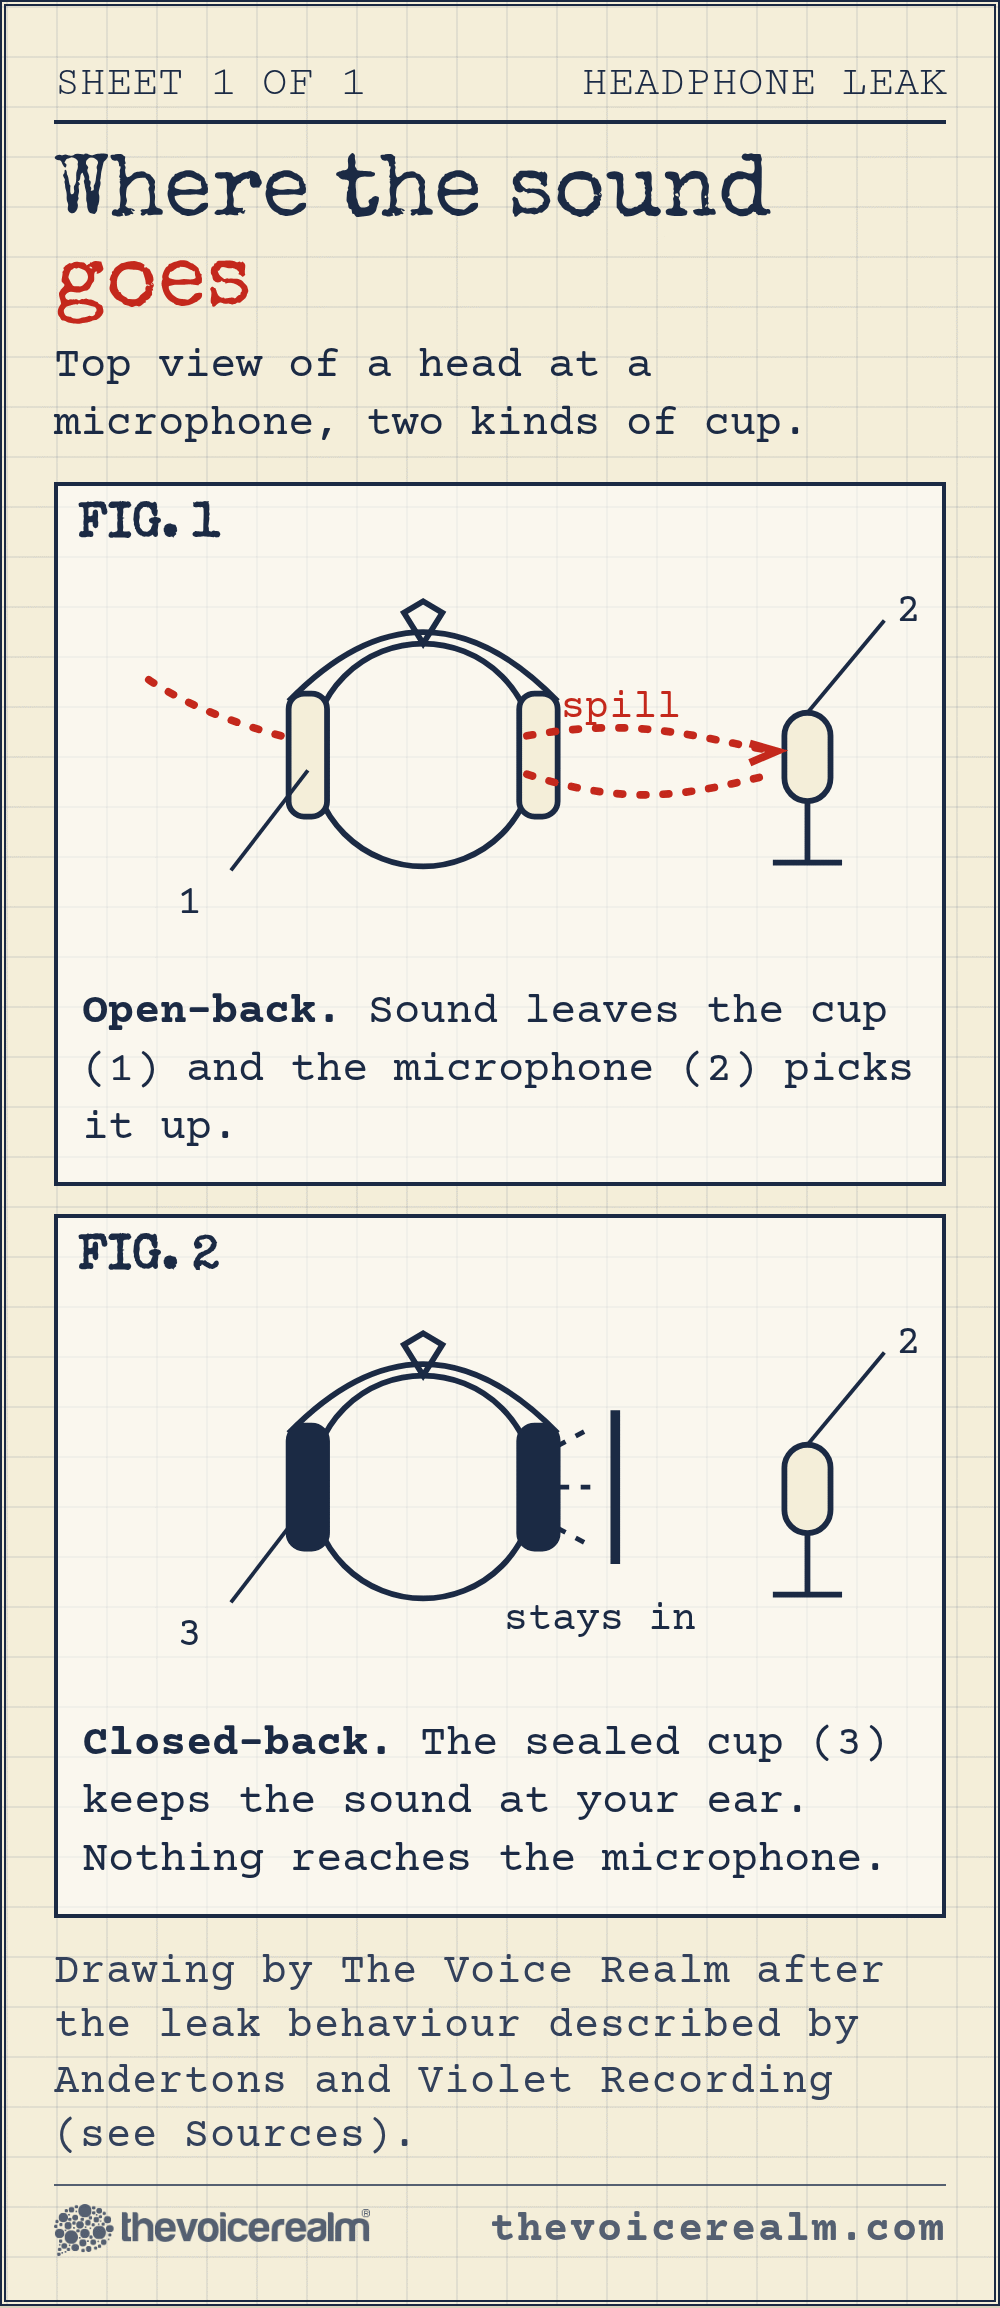
Headphones come in two basic builds. Closed-back cups are sealed on the outside. Open-back cups have a grille so air and sound pass straight through. They sound different, and they’re good at different jobs.
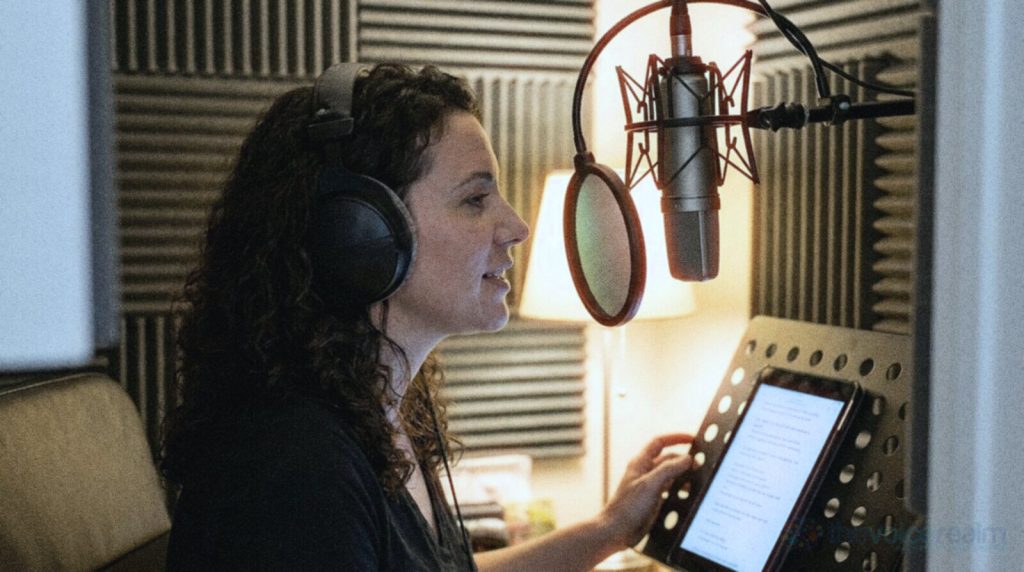
For recording, the sealed kind wins, and it isn’t close. Andertons, the UK music retailer, explains in its guide to the two types that closed-backs suit anyone tracking, “as hardly any audio from the headphone mix will be picked up by the microphone(s) capturing their performance.” Violet Recording says the same thing in plainer words: “Closed-back headphones seal around the ear and block sound from leaking out. That isolation is exactly what you want while recording into a microphone.”
Why does it matter for a voice actor? Because your microphone is a few inches from your face and very good at hearing small sounds. If you’re playing a reference track, a client’s guide read, or even just your own voice back to yourself, an open-back pair will leak some of that into the mic. You’ll hear it as a faint, tinny ghost of the playback under your voice. Once it’s in the file, you can’t take it out.
Open-backs aren’t bad. Andertons says they’re “considered as the most appropriate alternative to monitors for mixing,” because they give a more airy, natural sound. If you keep a second pair for editing after the session, that’s a fine job for them. Just don’t wear them in front of the mic.
Closed-back
Sealed cups keep the sound in. Your playback stays out of the microphone, and the room’s noise stays out of your ears.
Open-back
Open cups let sound escape, which makes them airy and natural to listen to. Handy for judging an edit, wrong for the booth.
© The Voice Realm
Comfort counts more than you’d think
An audiobook session can run for hours with the headphones on the whole time. A pair that squeezes after forty minutes will pull your attention off the script, and it’ll show in your reading.
Violet Recording’s advice is short and sensible: “Voice work means hours in the chair. Look for light weight, even clamping pressure that is firm enough to seal without crushing your head, and breathable earpads.” Try them on for longer than a shop minute if you can. Check them with glasses on, too, because the arms of your frames can break the seal and let sound out.
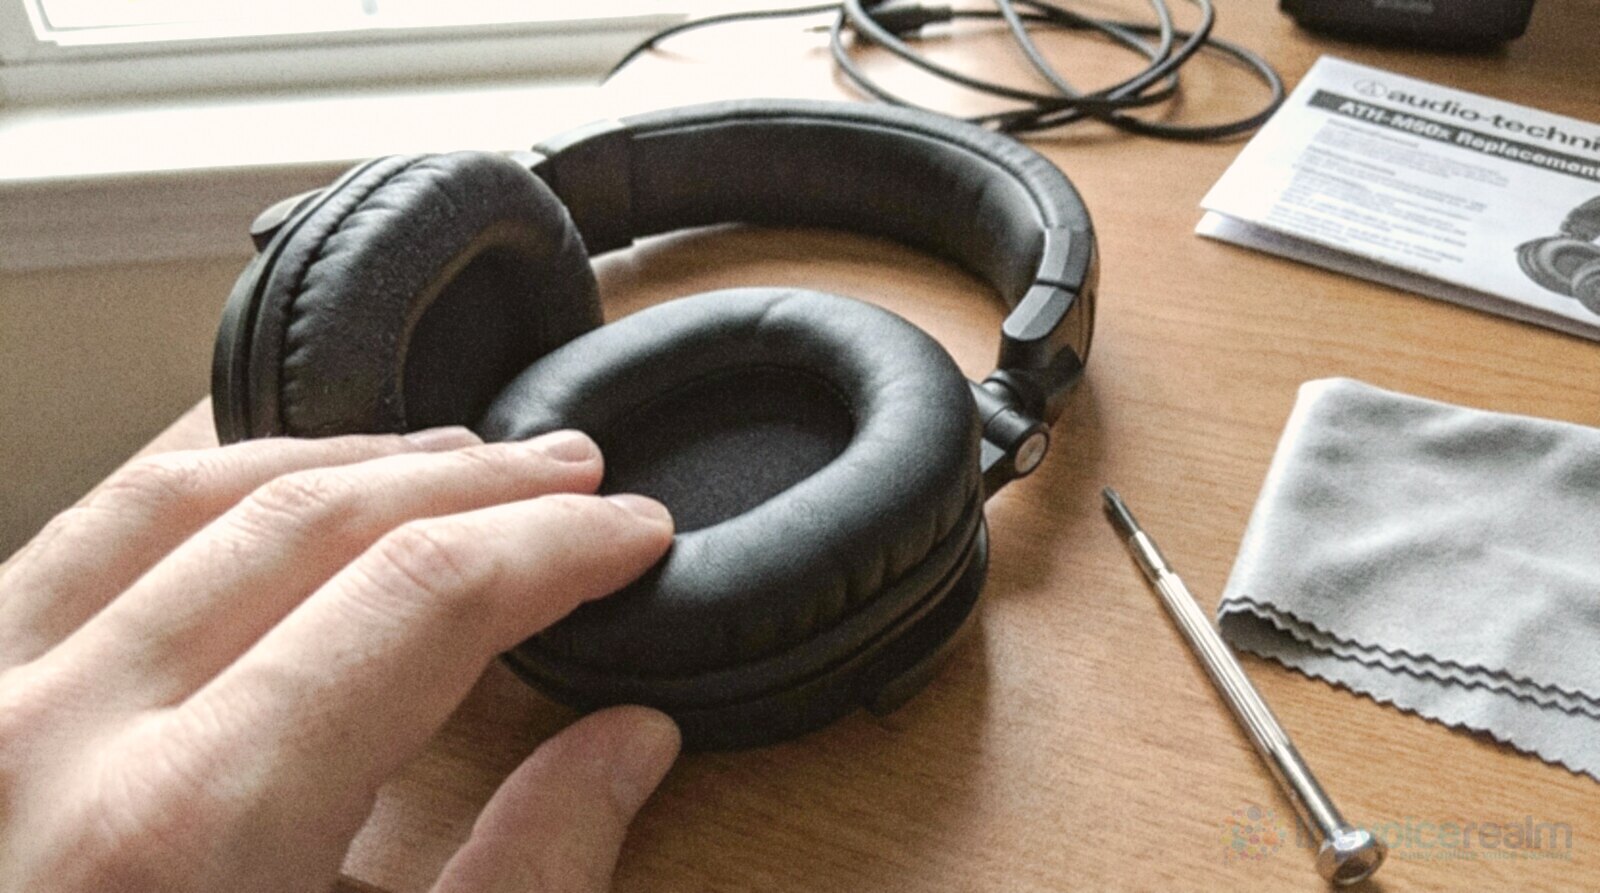
Ear pads wear out. They go flat, flake and start to let sound through, and then your closed-backs aren’t quite closed any more. Most decent pairs sell replacement pads, and swapping them takes a minute. If you hear a faint leak in a pair that used to be quiet, look at the pads first.
One habit to drop: wearing one cup half off so you can hear your own voice in the room. A half-off cup leaks into the mic and throws your sense of level. Both cups on, every take.
© The Voice Realm
Wired beats wireless, and check the output
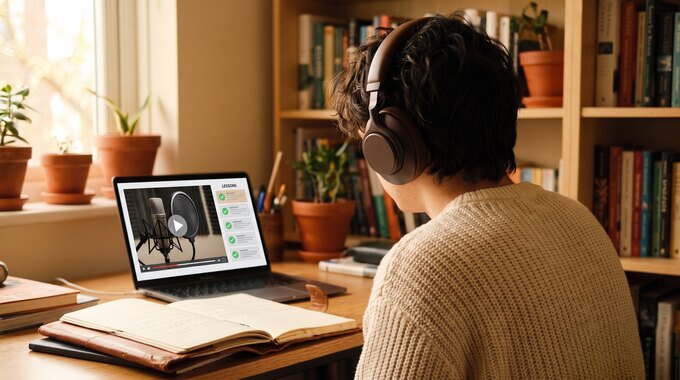
Wireless headphones are great on a walk and a poor choice at the mic. Violet Recording says it directly: “For recording, use wired headphones. Wireless models add latency and can introduce compression artifacts, both of which interfere with accurate, real-time monitoring.”
Latency is a delay between your voice and what you hear back. Even a small one makes you sound strange to yourself, and strange to yourself is how people start slowing down, speeding up or over-pronouncing without noticing. Plug in a cable and the problem disappears.
 VOICEMASTERACADEMYLearn the craft in order.Module one is freeStart module oneTwenty modules, start to finish.
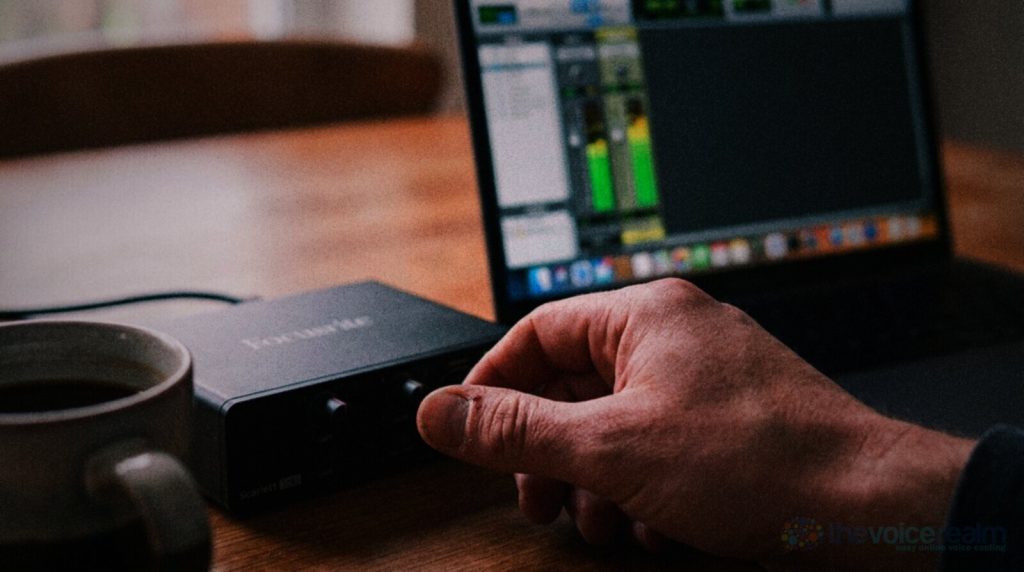
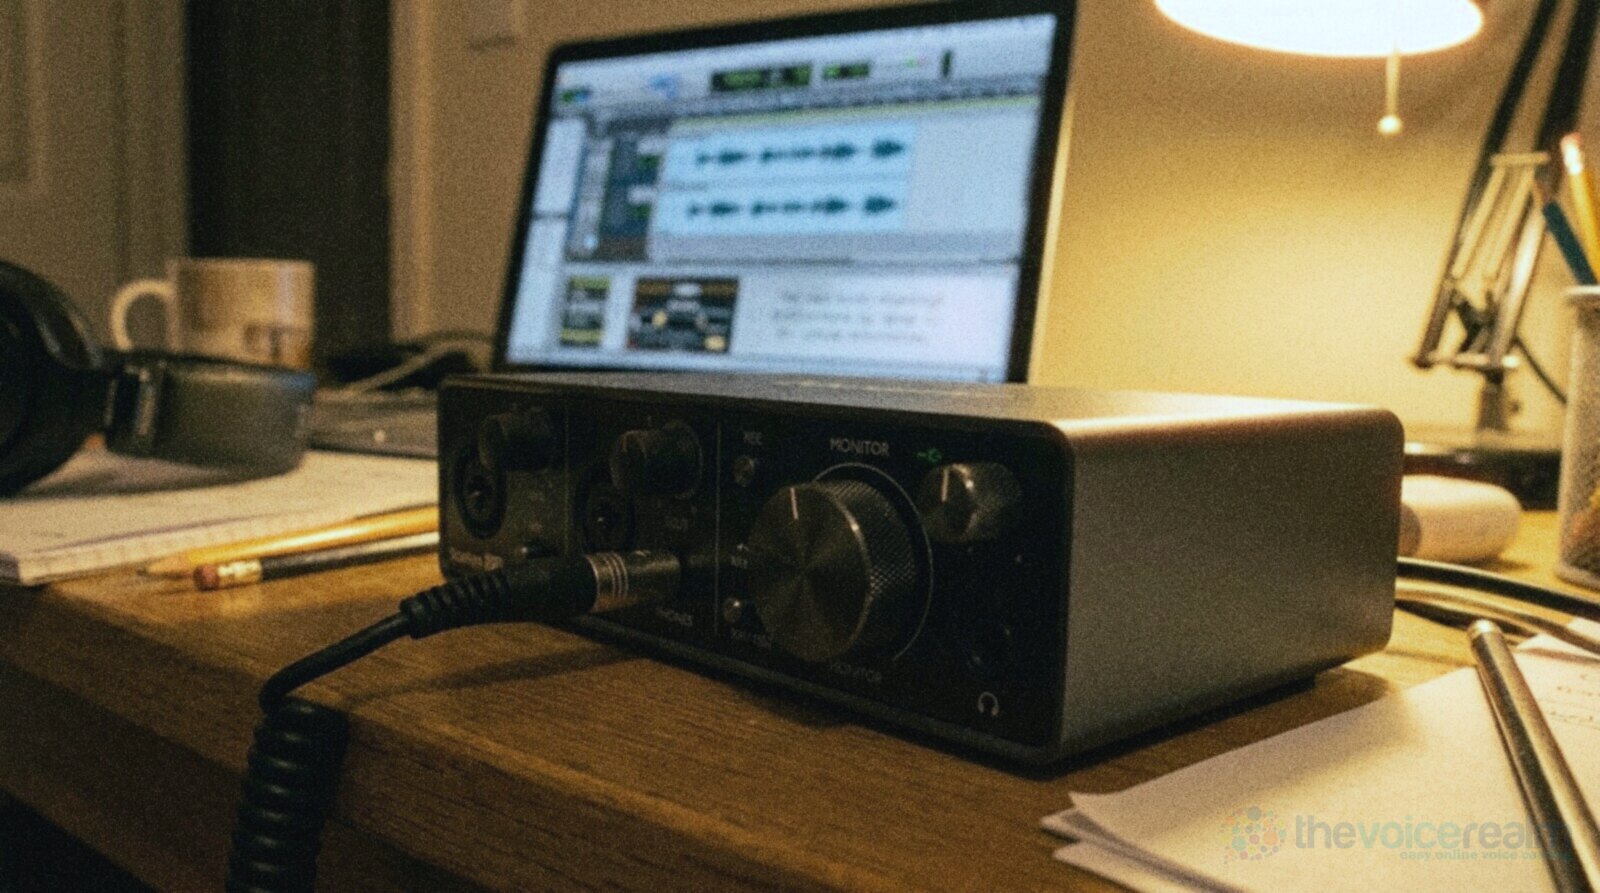
Then there’s how loud your gear can drive them. Violet Recording warns that “High-impedance headphones can sound their best with a dedicated headphone amp but may be quiet plugged straight into a laptop or phone.” Impedance is printed on the box or the maker’s page, in ohms. A lower number is easier for a laptop, an interface or a phone to drive. A higher number often wants a proper headphone output. If you record through an audio interface, check that its headphone output gives you enough level without turning the knob to the end.
If you’re still working out your recording level, the guide on setting gain and levels for voice over goes through what your meter should show before you worry about what’s in your ears.
© The Voice Realm
Keep the volume lower than feels fun
Here’s the part nobody warns beginners about. Headphones put the sound a few centimetres from your eardrums, you wear them for hours, and when the room is noisy you turn them up to cover it. That’s a recipe for tired ears at the end of the day, and over the years, for damage.
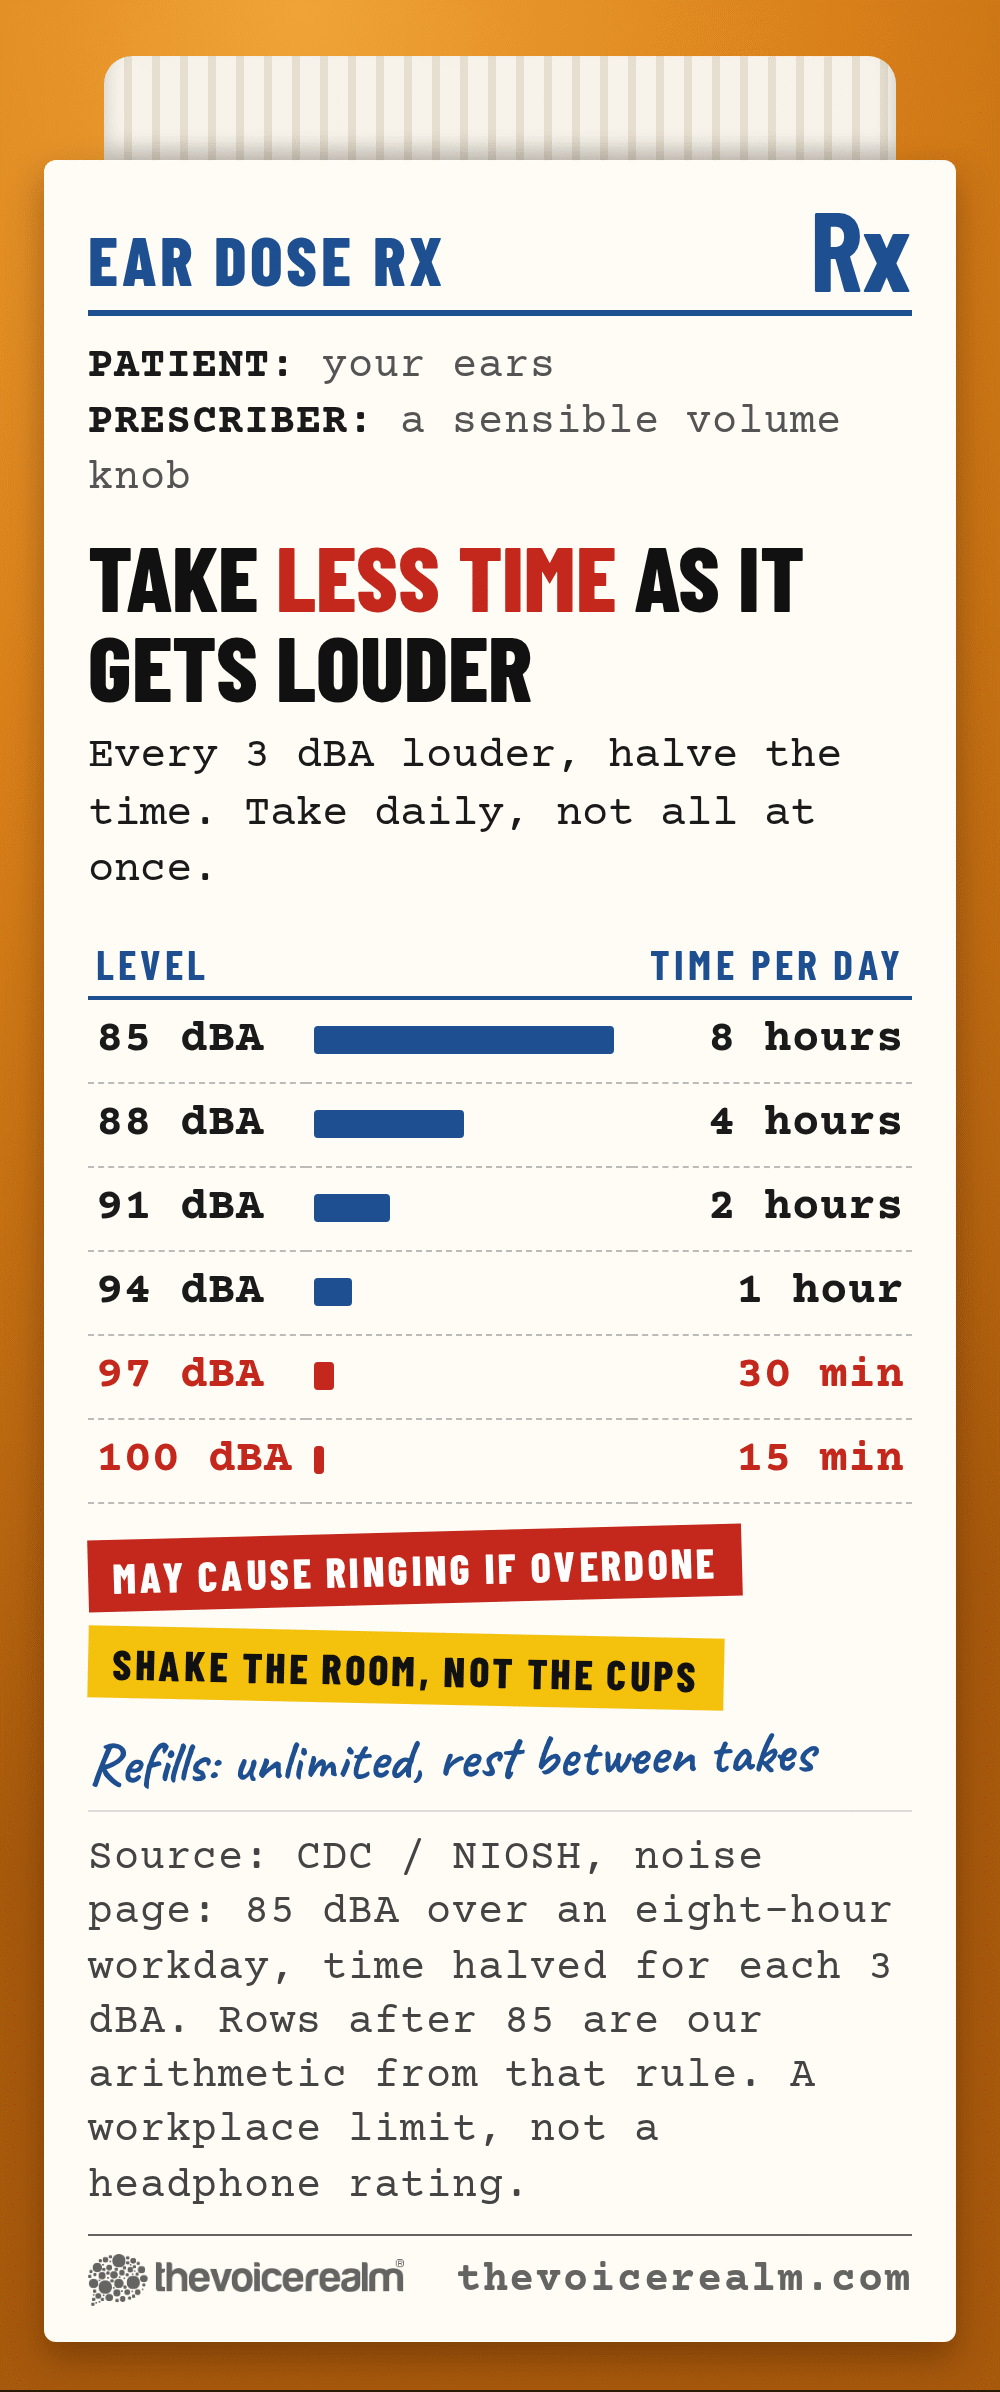
The US National Institute for Occupational Safety and Health, NIOSH, gives the clearest rule of thumb. On its noise page, the Centers for Disease Control and Prevention says: “NIOSH established a recommended exposure limit (REL) of 85 A-weighted decibels (dBA) averaged over an eight-hour workday.” And the part that surprises people: “For each 3 dBA increase in noise level, NIOSH recommends reducing the exposure duration by half.”
Do the sum and it adds up fast. At 85 decibels you get eight hours. At 88 it’s four, at 91 two, at 94 one hour, and at 100 you’re down to fifteen minutes. Those are workplace limits for noise, not a headphone label, but the logic carries over: a bit louder costs you far more time than it feels like.
You can’t read decibels off your volume dial, so use simple rules instead:
- Set your level once, in a quiet room, at the quietest point where you can still hear a breath clearly. Then leave it alone.
- If you catch yourself turning up to hear over a noisy room, fix the room. Our guide to treating a room for voice over starts with the cheapest wins, and the free Home Studio Analysis at Voice Edit Suite shows you where the noise is coming from.
- Take the headphones off between takes. Your ears get a rest and your neck gets a stretch.
- Ringing or a muffled feeling after a session is a warning. Turn it down tomorrow, and see a doctor if it doesn’t clear.
© The Voice Realm
What your ears should be catching
Once you have the right pair at a sensible level, train yourself to hear what they’re telling you. The headphones aren’t there to flatter you. They’re there to catch trouble while it’s cheap to fix.
Plosives show up as a soft thump on P and B. Sibilance sounds like a hiss on S. Mouth noise is a wet tick between words. A room problem sounds like a small bright echo after you stop talking, or a steady hum under the silence. Each one has a fix at the mic, in your technique or in the room, and a take you stop and fix in thirty seconds beats one you try to rescue later. We have separate guides on stopping plosives and mouth clicks.
A good habit: after you set up, record ten seconds of silence and listen to it through the headphones with your eyes closed. That’s your noise floor, and you’ll hear everything the room is doing.
Test a pair in ten minutes
Before you commit to a pair, run a quick check at your own desk:
- Leak test. Put them on, play something loud and record ten seconds with the microphone live. Listen back. If you can hear anything but silence, they leak.
- Wear test. Read a page of script out loud with them on. Notice the clamp, the heat and the way your own voice sounds.
- Glasses test. If you wear glasses, check the seal with them on.
- Level test. Plug into the output you’ll really use and see how much knob you need for a comfortable level.
- Cable test. Make sure the cable is long enough to let you sit back without a tug, and that it doesn’t rub on your desk and thump.
If you’re new to all this and building your first set-up, Voice Master Academy walks beginners through the kit and the first recordings in order.
Last point. A pair of good closed-back wired headphones isn’t expensive next to a microphone and an interface, and it’s the piece of gear you use for every second of every session. Buy comfortable, buy sealed, buy wired, keep the level modest, and you’ve covered nearly everything this guide is about.
Sources: Andertons Music Co., “Closed-back vs open-back headphones: which are best for you?”. Violet Recording, “Best Headphones for Voice Recording and Monitoring”. Centers for Disease Control and Prevention, NIOSH, “Noise-Induced Hearing Loss”.
Ready to get booked?
See the jobs open right nowAbout Sarah Robbins
Sarah Robbins writes for The Voice Realm about finding voice over work, home studios, casting and the business side of voice acting.