Blog
Blog

You’ve decided to take voice over seriously, and now there’s a wall of microphones between you and your first proper recording. Half the forum answers say to get a condenser because it’s the studio sound. The other half say to get a dynamic because it ignores your noisy room. They can’t both be right, and the truth is that each one is right for a different room.
This guide is for new and improving voice actors choosing a microphone. It explains what the two types do differently, why your room matters more than the price tag, what each type asks of the gear around it, and how to decide without spending a fortune on the wrong thing.
Two ways to turn a voice into a signal
Every microphone does the same job: it turns air movement into an electrical signal. The difference is how. Shure, which makes both kinds, describes the dynamic design in its mic basics guide: “It’s a very simple design consisting of a diaphragm, a voice coil and a magnet.” A condenser, it says, uses “a thinner diaphragm with an electrically charged back plate instead of the voice coil and magnet setup of a dynamic mic.”
That difference in construction explains almost everything else. A condenser’s diaphragm is light. In Shure’s words, “it has much less mass than a dynamic element. So it’s far easier to move it in response to subtle sounds or high frequencies.” A dynamic’s moving parts are heavier, so it responds less eagerly to quiet and very high sounds.
The steady one
Less sensitive, tough, needs no power from your interface. Happiest when you speak close to it, and more forgiving of an ordinary room.
The detailed one
More sensitive, picks up fine detail, and needs power to run. Rewards a quiet, soft room, and shows you every flaw in a bad one.
Why a dynamic forgives a rough room
Most voice actors start in a bedroom, a spare room or a cupboard, and none of those is a studio. Shure notes that condenser mics are “typically more sensitive than their dynamic counterparts and they’re better at picking up high frequency detail and percussive sounds.” In a good room, that’s the detail you want. In a bare one, it’s also the fridge hum, the neighbour’s lawnmower and the echo off the bedroom wall.
A dynamic hears less of all that. It also takes a lot of abuse. Shure says that “Dynamic mics provide very good sound quality and can handle extremely high levels without distorting”, which matters when you perform a shout or a big laugh at close range. Its SM7B page calls that model’s response “smooth, flat, wide-range” and “appropriate for music and speech”, and Shure pitches it at “big-time broadcasting, professional podcasts or critical studio recordings”. Speech in a working room is exactly what the dynamic design is good at.
Now the honest caveat. Thomann, the German music retailer, puts it plainly in its beginner’s guide: “Neither type is automatically better, and neither eliminates background noise.” It adds that sensitivity “does not measure how effectively it separates your voice from a fan, traffic or room reflections.” So a dynamic isn’t magic soundproofing. It simply gives you a head start when the room isn’t quiet.
© The Voice Realm
What a condenser gives you, and what it asks for
In a quiet, soft room, a condenser can sound open and close, with the little details of a voice that listeners associate with a polished recording. Thomann’s guide says that “A condenser is often a good starting point for detailed vocals and acoustic instruments in a quiet room.” The key words are “in a quiet room”. If you have a closet of coats, a thick rug and a duvet on a clothes rack, you may be most of the way there already.
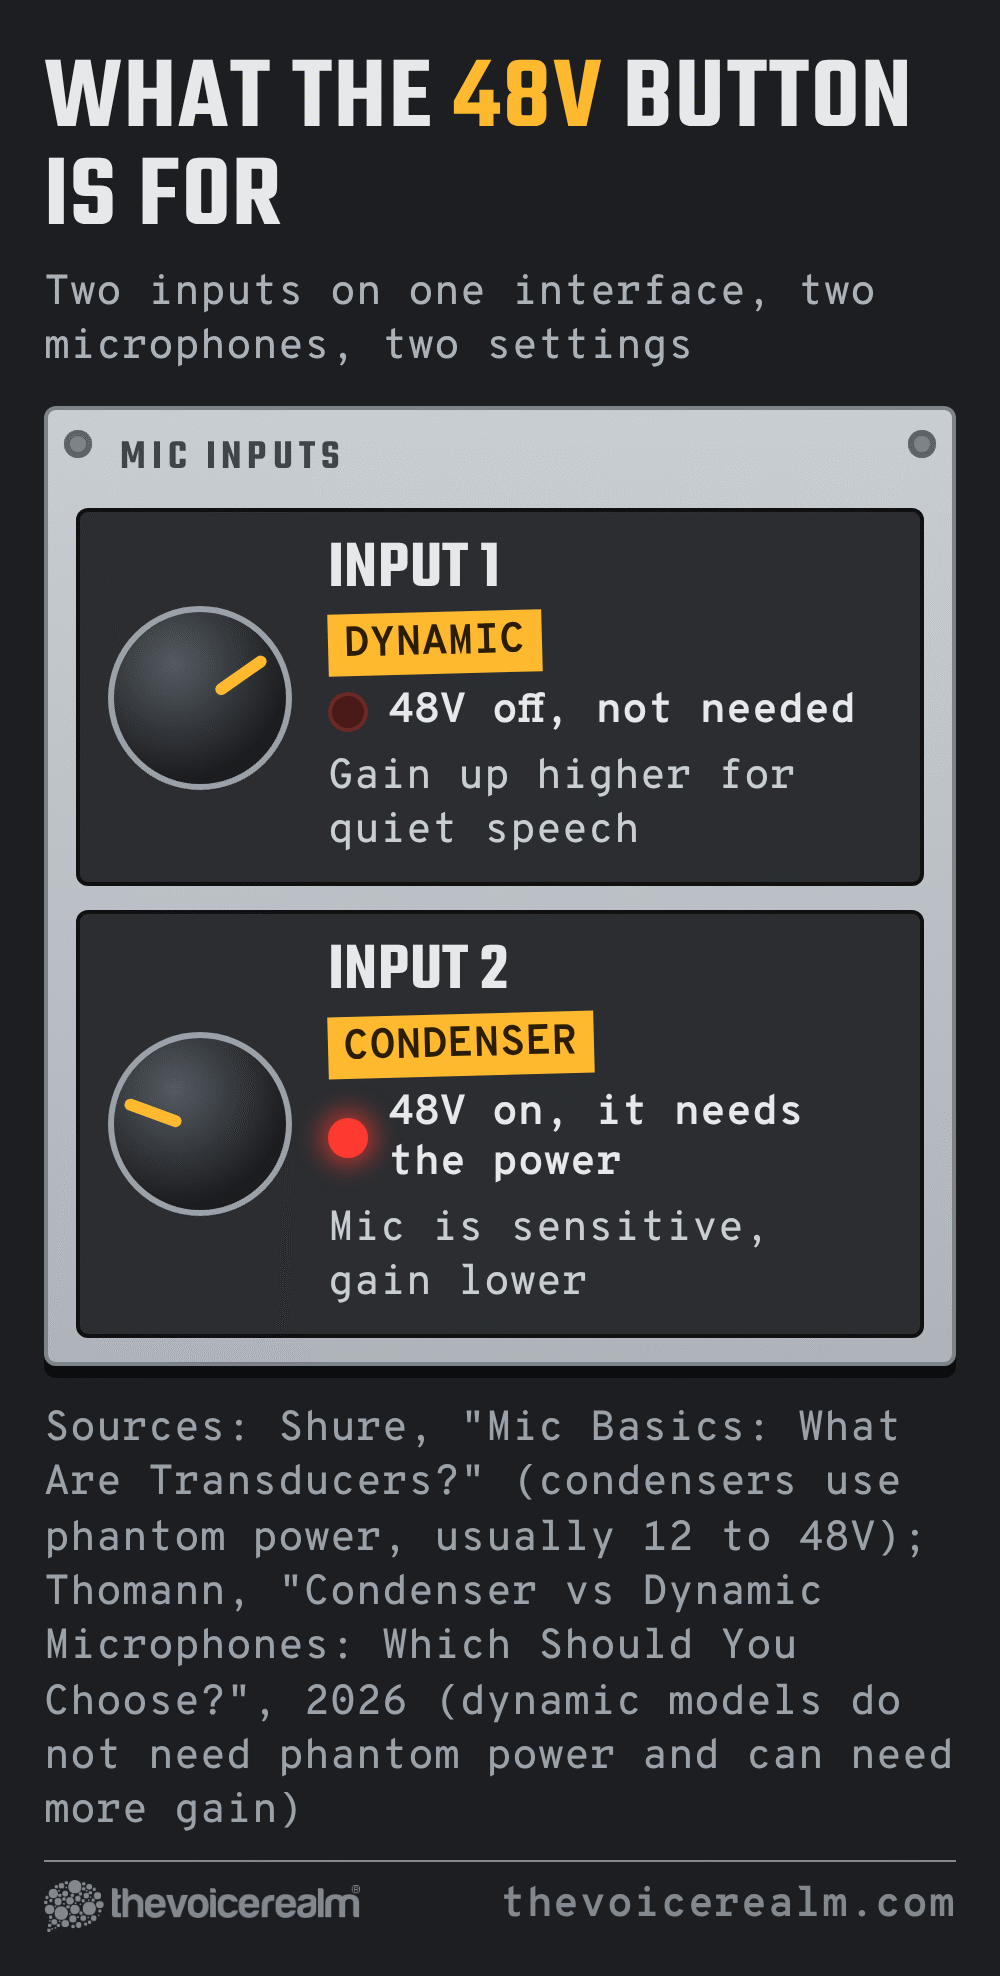
It comes with a bill. A condenser needs power, and Shure explains how it arrives: “This can come from a battery inside the microphone or it can be fed through the microphone cable from the mixer or recorder as so-called ‘phantom power.'” It adds that “Most condenser mics can work with a range of voltage, usually from 12 to 48V”, and gives a simple instruction: “If you plan to use a condenser mic, check your mixer or your recorder to make sure that the input supplies phantom power.” A condenser also tends to show off mouth noise, breath and plosives more than a dynamic does, so a good pop filter earns its place. Our guide to stopping plosives shows what to do about the thumps.
© The Voice Realm
Look at the room before the catalogue
Here’s the check that saves most beginners money. Before you choose a type, find out how noisy your space really is. Voice Edit Suite’s free Home Studio Analysis will tell you what your room and your current microphone are doing, so you can measure before you buy, fix what’s fixable, and measure again.
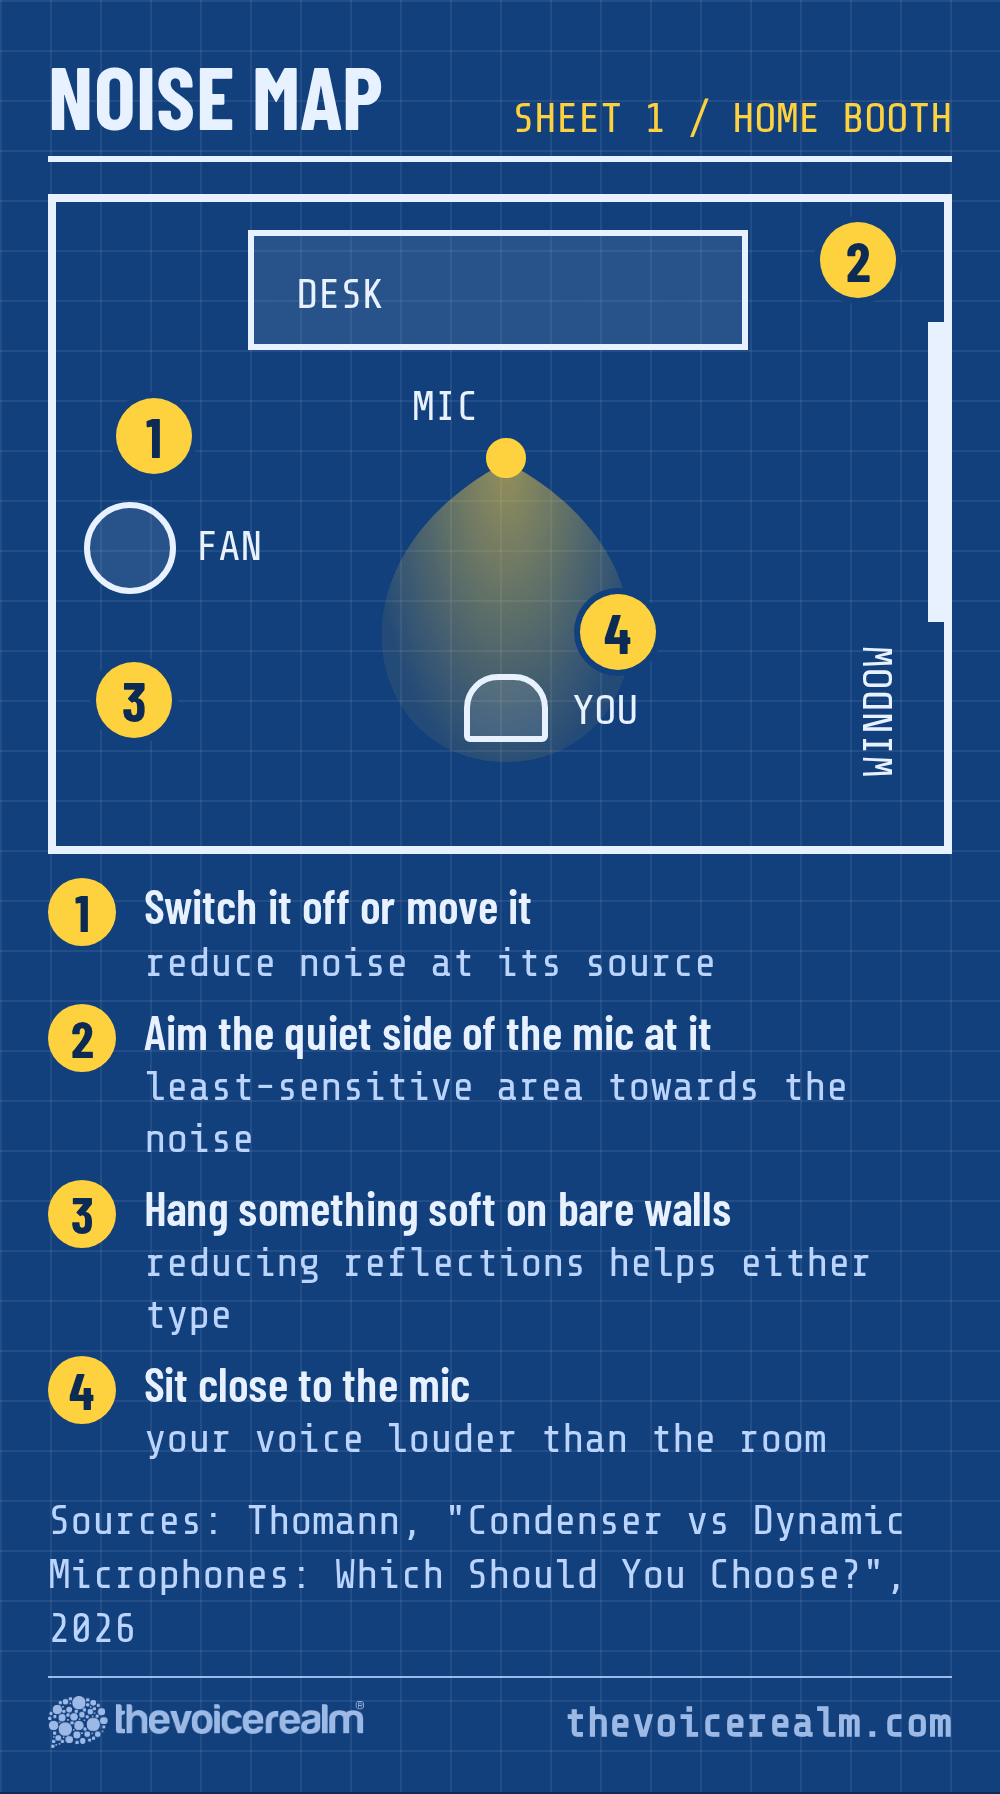
Then use this rule of thumb, which follows Thomann’s own guidance. If your room is quiet and soft, a condenser is a fine place to start. If it isn’t, a dynamic is the safer buy. And whichever you pick, Thomann says that “In an echoey room, improving placement and reducing reflections will help either type”, which is why treating the space behind you pays back whichever microphone you choose.
 VOICEMASTERACADEMYTwenty modules, one at a time.Breath controlHome studioCommercial techniqueAuditionsStart module oneNo experience needed.
Thomann also lists the changes that help most: “reducing noise at its source, moving the microphone closer and directing its least-sensitive areas towards unwanted sound.” In practice that means switching off the fan, shutting the door on the street side, and sitting close to the mic. It says that “Moving closer makes your voice louder relative to more distant sounds.” Closer isn’t always better, though. Too close and you gain breath noise and a boomy low end, which our piece on microphone technique covers in detail.
© The Voice Realm
Gain: the dynamic’s one demand
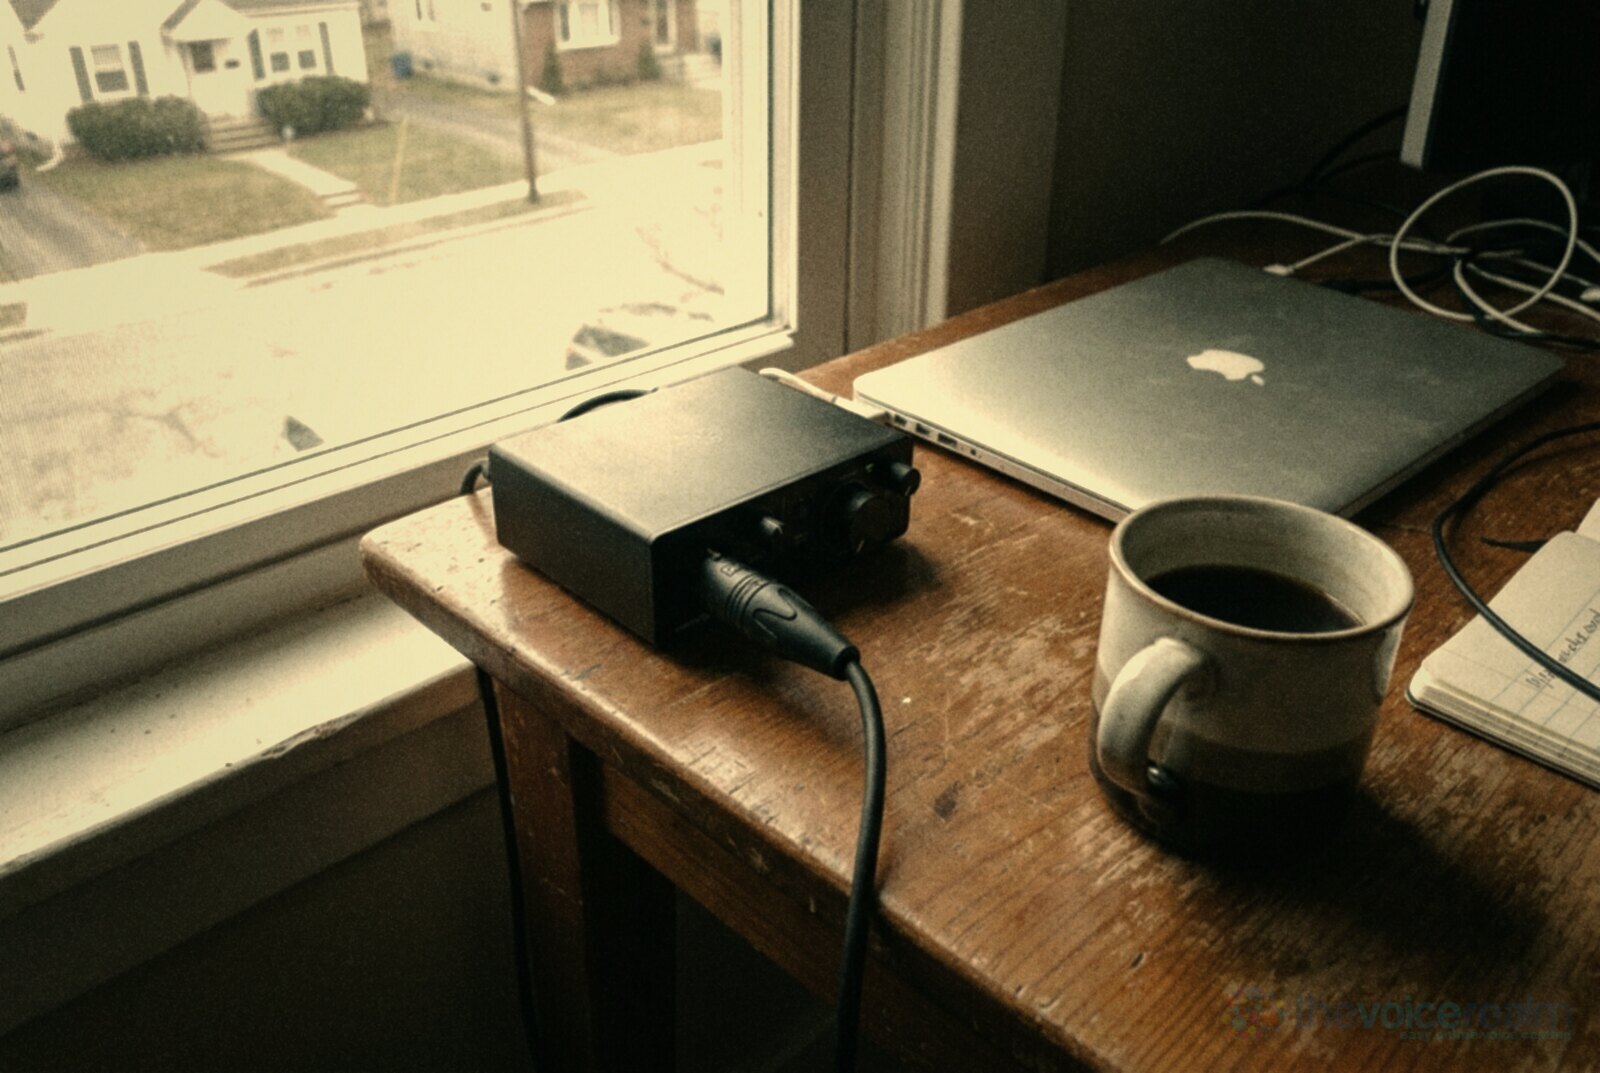
A dynamic gives you a smaller signal, so your interface has to turn up further to bring it to a useful level. Thomann says passive dynamic models “do not need phantom power, although their relatively low output can require more microphone-preamp gain when recording quiet speech.”
That’s where cheap interfaces sometimes struggle. If you hear hiss when the gain knob is near the top, you’ve met the problem. The fix is a quieter preamp or an inline booster, not a different voice. Whether you end up with a dynamic or a condenser, set your levels sensibly, and our guide to recording levels shows where to aim.
© The Voice Realm
USB or XLR is a separate question
People often mix up the mic type and the plug. Thomann clears it up: “USB and XLR describe the connection, not the microphone’s transducer type.” A USB microphone has the electronics inside to talk to your computer. An XLR microphone sends an analogue signal to an interface, mixer or recorder.
For a first setup, USB is simpler, with no extra box and no phantom power to think about. XLR costs more and takes a little learning, but it lets you upgrade one piece at a time, and the interface is a part you can keep when you change microphones. Many working voice actors end up on XLR for that reason.
© The Voice Realm
What to listen for when you test
Whatever you already own, or borrow, a ten-minute test tells you more than any review. Record the same paragraph three ways: at your normal distance, a hand’s width closer, and with a duvet hung behind the mic. Then listen on closed-back headphones, not laptop speakers.
First, listen to the gaps between your phrases. If you can hear a hum, a hiss or the room ringing after each sentence, noise is your problem, and the cure is in the room or the gain, not in a more expensive microphone. Second, listen for a hollow, boxy or “bathroom” colour on your voice. That’s reflections, and a dynamic will lessen it while a condenser will show it off. Third, listen for breath and thumps on your Ps and Bs. Those are handled by distance, angle and a pop filter, whichever microphone you’ve chosen.
If the gaps are quiet and the voice sounds natural, you’ve got a setup that works. Don’t change it because a stranger online told you the other type is better. Spend the money on getting your next audition recorded and sent instead.
A short plan for choosing
Start with the room, not the review site. Measure it, fix the noisiest thing in it, and ask whether you could record a full read without hearing the fridge. If you couldn’t, buy a dynamic. If you could, try a condenser, and if you can borrow or try one in a shop, record the same paragraph on each and listen on closed-back headphones, as in our headphones guide.
Give your choice a fortnight before you judge it. Most people dislike the sound of their own recorded voice at first, and that dislike gets blamed on the microphone. Record a short read each day, save the files with the date, and compare the first day with the fourteenth. By then you’ll know where the mic likes your voice, how close to sit, and whether the thing you disliked was the gear or just the strangeness of hearing yourself. If it’s still wrong, you know exactly what to change.
Whichever you choose, you’ll get better results from a decent microphone used well in a quiet room than from an expensive one used badly in a loud one. A client listening to your audition doesn’t know your microphone’s price. They hear how clear and natural you sound.
Sources: Shure, “Mic Basics: What Are Transducers?”; Shure, SM7B product page; Thomann, “Condenser vs Dynamic Microphones: Which Should You Choose?”, 2026.
Ready to get booked?
See the jobs open right nowAbout Sarah Robbins
Sarah Robbins writes for The Voice Realm about finding voice over work, home studios, casting and the business side of voice acting.